
MENUMENU
TALK TO AN EXPERT
Special Hours: 7AM – 6PM PST
TALK TO AN EXPERT
Special Hours: 7AM – 6PM PST
Boondocking for days or weeks at a time is something many RVers dream of doing. However, these dreams are met with reality if you realize your stock camper battery won’t suffice. If you’re dreaming of using your RV off the grid, you want to keep reading.
Today we’re going to share with you how to replace and upgrade your camper battery. Let’s get started!
Camper batteries store and provide the power for your RV’s 12-volt electrical system anytime shore power is not available. Lights, USB ports, and even an RV’s leveling system often run off the 12-volt system. Your camper batteries can also connect to an inverter to power your 120-volt devices as well.
If you’re interested in having power while boondocking, or camping off-grid, you need to take care to manage your camper batteries’ charge level and cycles.
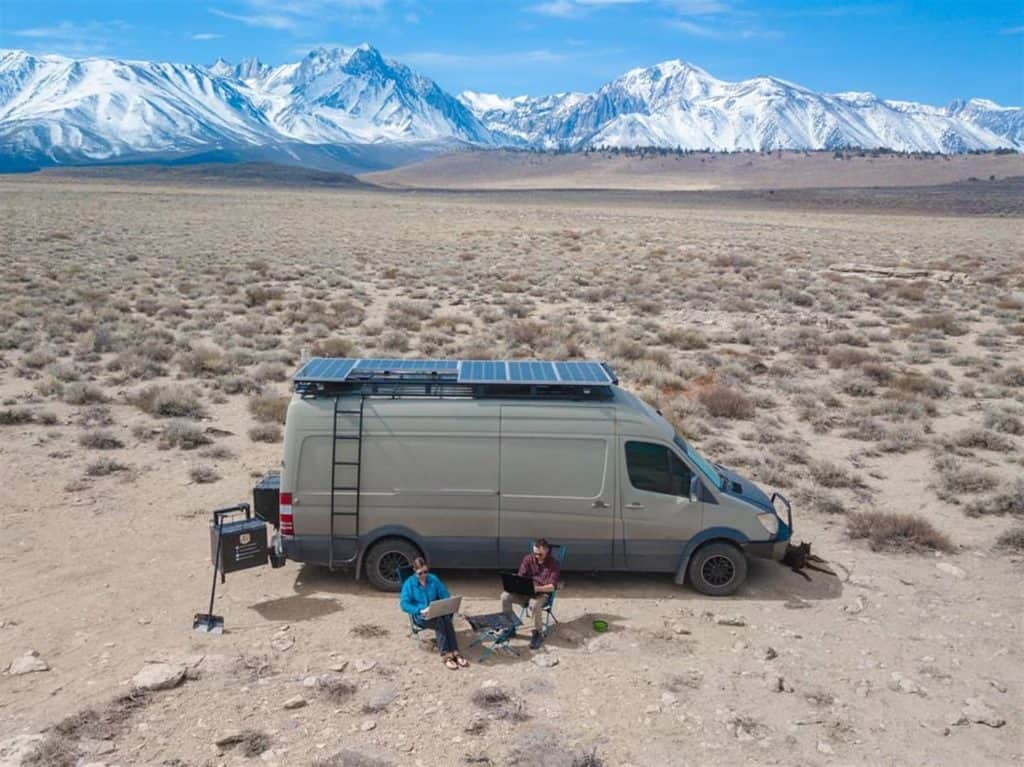
Before you select which battery you want to put into your RV, you have to consider the different types of camper batteries. Let’s look at a few of the most popular camper battery options.
Lead-acid batteries are the cheapest and most readily available type of camper battery. These batteries are the most common stock batteries on new RVs today and often the battery of choice for those on a budget. Expect to pay $100-$300 for a single 100 amp-hour (Ah) lead-acid battery. However, these budget-friendly batteries do have some drawbacks.
Lead-acid batteries use lead plates that sit in a mixture of water and sulfuric acid. These lead plates make lead-acid batteries very heavy. Additionally, you need to check the level of the acid solution frequently and refill it if it gets too low. Manufacturers recommend checking the water level of a lead-acid camper battery every 60 days.
Another concern with lead-acid batteries is that depleting them below 50% of their capacity causes damage and shortens the battery’s life. This means that for a standard 100 Ah lead-acid battery, you only get about 50 Ah of usable capacity.
AGM (absorbed glass mat) batteries are also known as sealed lead-acid batteries. These batteries use a glass mat separator to wick an electrolyte solution that rests between lead battery plates. This material stores the electrolyte in a dry state and not liquid form, which helps avoid spills, eliminate maintenance and reduce weight.
Many RVers like these batteries because they are maintenance-free. The lack of maintenance is advantageous over traditional lead-acid batteries as you no longer have to check and maintain the battery’s water levels. However, AGM batteries are still quite heavy and can be damaged if you drain them below 50% of their capacity. If you’re looking to upgrade to an AGM battery in your RV, expect to pay $200-$500 per battery.
A growing trend in RVing is to upgrade RV batteries to lithium-ion. Lithium batteries use lithium salt instead of acid and lead plates to store energy. Their construction makes lithium batteries significantly lighter than lead-acid batteries, but that’s not their only advantage.
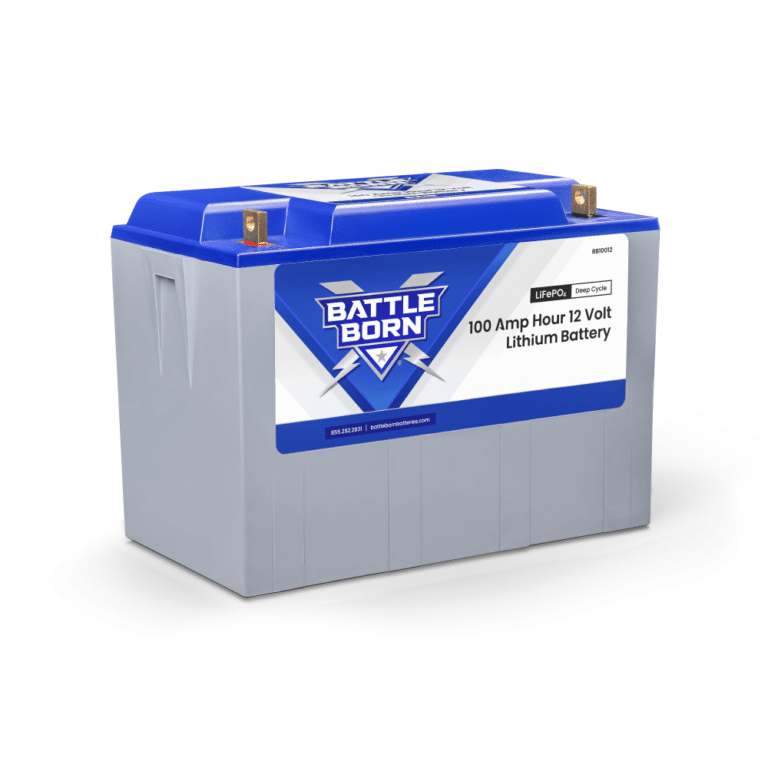
Lithium-ion batteries are a popular choice for RVers for many reasons, but the upfront cost often scares people away. You should expect to pay $800-$1200 for a single 100 Ah battery.
Despite their costly price tag, these batteries are maintenance-free, can be discharged up to 100%, and weigh less than half of a comparable lead-acid battery. Lithium camper batteries also have a higher charging efficiency and a longer lifespan. It’s easy to see why many RVers choose lithium batteries for their camper battery bank.
Learn more about The Truth of Lead-Acid Vs. Lithium-Ion Batteries in RVs.
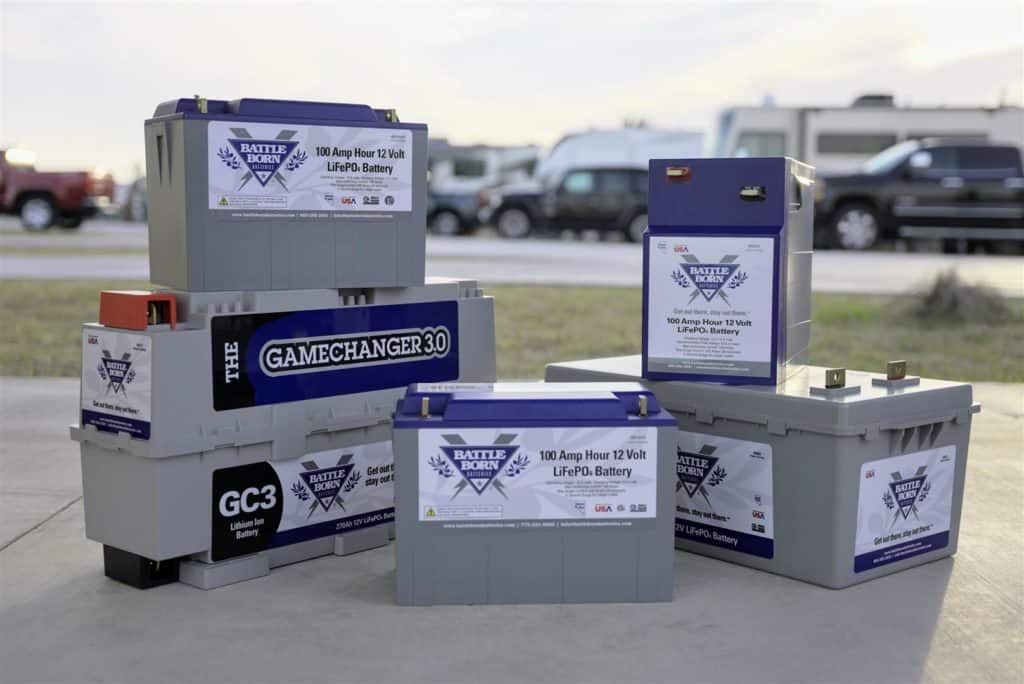
Choosing to upgrade your camper battery to a lithium battery is a game-changing upgrade. Let’s take a closer look at a few of the benefits of this upgrade.
Lithium batteries typically last more than 5,000 charge cycles, and companies like Battle Born Batteries stand behind their product with a 10-year warranty. In comparison, an AGM battery only lasts 500 full cycles and 200-300 cycles for lead-acid. As we previously said, the lifespan of a lithium battery massively outperforms the competition.
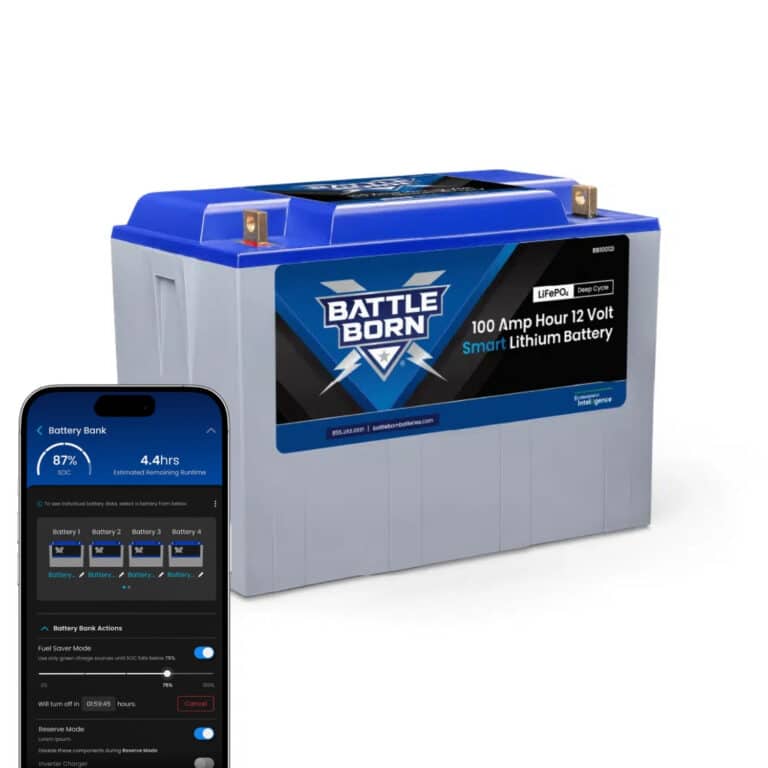
Once installed, lithium batteries require little to no maintenance. The lack of maintenance means no longer having to check water levels and avoid spilling liquids around your electronics. Additionally, lithium batteries have an internal battery management system (BMS) that monitors the battery’s health and ensures it operates within safe limits. RVing is full of maintenance tasks and items requiring upkeep, and your lithium batteries won’t be one of them.
It’s not uncommon for lithium battery companies to offer 10+ year warranties on their batteries. These are relatively new to the market, and as these batteries get more use, we expect to see warranty lengths grow. Our company currently has a 10-year warranty on our entire battery line.
One significant advantage of lithium batteries is that they can discharge 80% or more (you can discharge Battle Born Batteries to 100%) of their capacity without causing damage. This means you get nearly double the usable energy with a lithium battery of the same capacity as a lead-acid battery.
Another way lithium is more efficient than AGM or lead-acid batteries is their charge rate. A 100 Ah AGM battery takes approximately eight hours to recharge fully, while the same size lithium battery charges in as little as two hours. This quick charging allows you to be less reliant on extended solar exposure or generator use to charge your batteries.
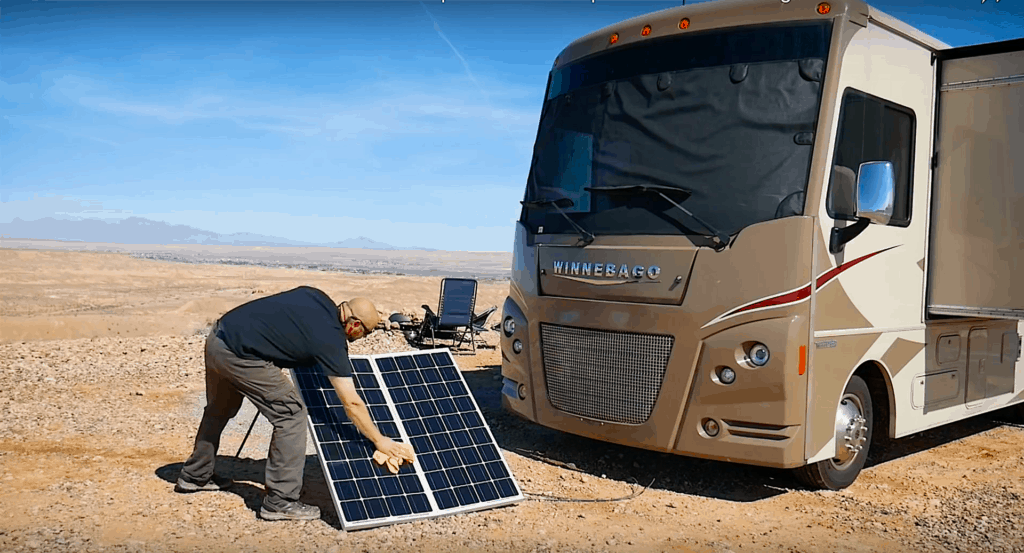
If you’ve ever had to take your standard lead-acid battery out of your RV, you likely discovered that it’s incredibly heavy. A 100 Ah lead-acid battery will weigh 60-65 pounds, while a 100 Ah lithium battery weighs 30-35 pounds.
Not only do lithium batteries weigh half of what lead-acid batteries do, but they also have twice the usable capacity. This is a win-win for lithium! Keeping your RV as light as possible is essential. Anytime you can shave off weight, we highly recommend it.
Lithium batteries do have a higher upfront cost; however, they last years longer than lead-acid or AGM batteries. While it may be tempting to cut costs upfront and go with AGM or lead-acid batteries, you’ll inevitably spend more replacing them in the long run than if you choose lithium.
Upgrading your camper battery system is something that can be a DIY project if you’re handy. Let’s take a look at the steps to replace and upgrade your camper battery system.
One of the first steps in upgrading your camper battery system is knowing how many batteries you’ll require. Knowing how long you plan to use your RV not connected to a power source and what appliances you plan to power are essential when sizing your battery bank.
If you are upgrading an existing system, you likely have a pretty good understanding of your power requirements. Remember, a single 100 Ah lithium battery can replace a 200 Ah lead-acid battery system due to its increased efficiency.
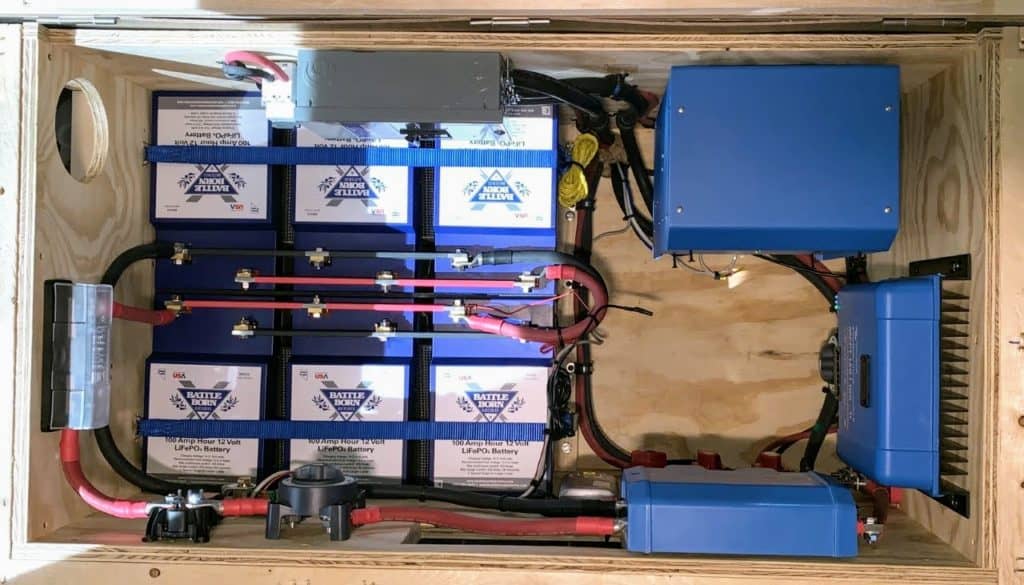
Because lithium batteries are enclosed batteries, there’s flexibility when it comes to how they’re mounted. Many RVers use unique spaces like under a bed or unused space in a storage bay to keep their batteries at optimal temperatures. Wherever your battery bank will be installed, be sure to verify there are adequate weight supports, especially for large battery banks.
Many online retailers have purchasing options on their websites. Ordering online can make it incredibly easy to shop around and compare deals and incentives before purchasing. Some of these online retailers may have kits or packages to consider for additional savings.
➡ Click here to shop our 12V Lithium Camper Batteries.
Upgrading your batteries also means you’ll likely need to upgrade wiring, fuses, and add a battery monitor to your electrical system. Using underrated wiring or fuses can be incredibly dangerous, and a battery monitor can help alert you should an electrical issue arise in your system that requires your attention.
Be sure to do adequate research before purchasing accessories and components for your battery system upgrade. You can always reach out to the professionals here at Battle Born to help answer any questions you have on selecting the correct batteries and components.
Once you have your batteries and components, it’s finally time to start the installation process. Working with electricity can be dangerous or deadly. If you are not comfortable working with electrical systems, it may be best to find a local RV service center to install your new camper battery system for you.
In general, here are the basic steps to installing your new camper battery system. First, disconnect your RV from any power sources and utilize the battery disconnect switch. When you’re disconnecting batteries, remove the negative lead first. This step helps reduce the risk of being shocked and any shorts to the frame or ground.
After disconnecting the power and batteries, install any new wiring, components, and accessories before installing your new batteries. Once all components are securely connected, install the positive battery lead first and then the negative lead. You’ll now be ready to test and enjoy the benefits of upgrading your camper battery.

If you purchase your batteries online, you’ll need to find a place to dispose of your old batteries safely. Since there are hazardous materials used in all types of batteries, you should not just toss them in the trash. If you’re purchasing your new camper battery from an in-person retailer, they’ll likely dispose of your old battery or you. However, there are a few other options to consider when disposing of your old camper battery.
Check with your local hazardous waste facility regarding the proper disposal of your camper battery. Additionally, almost any store that sells car batteries will also accept your old camper battery for recycling. AutoZone and other car part retailers often will give you a gift card in exchange for your old battery.
Upgrading your camper battery enhances how and where you use your RV. While it does come with some upfront expenses, you’re sure to appreciate them for years to come. You’ll also be better equipped for taking your camper boondocking off-grid, which we think is quite possibly the best way to camp.
Have you considered upgrading your camper battery system to lithium? Let us know in the comments below.
Check out these other helpful articles if you’re wondering about using lithium in your particular RV:
We know that building or upgrading an electrical system can be overwhelming, so we’re here to help. Our Reno, Nevada-based sales and customer service team is standing by at (855) 292-2831 to take your questions!
Also, join us on Facebook, Instagram, and YouTube to learn more about how lithium battery systems can power your lifestyle, see how others have built their systems, and gain the confidence to get out there and stay out there.
Shop Best Sellers
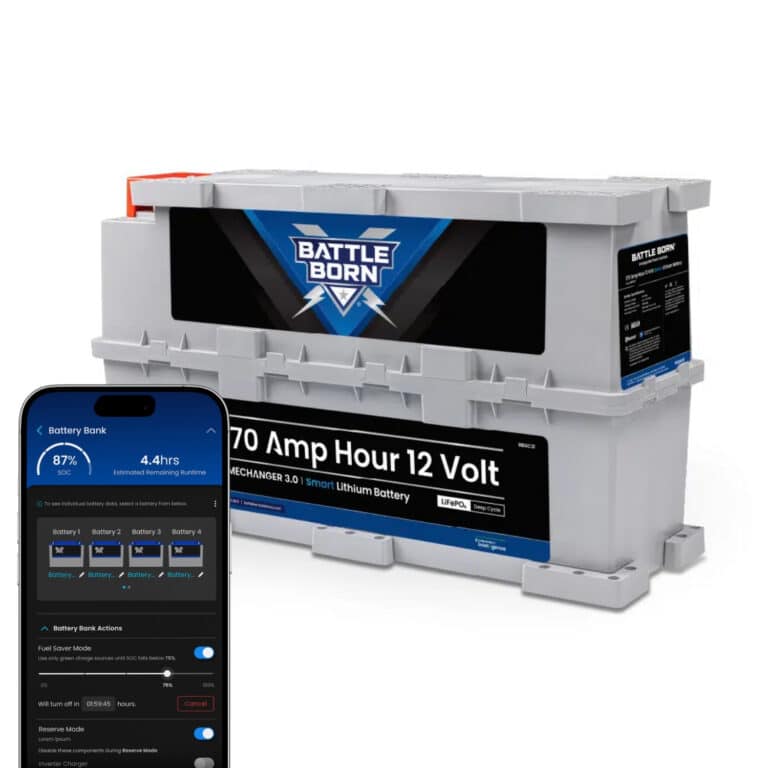
Ask a technical specialist now at 855.292.2831
Stay in the Know
Take our short Customer Survey for a chance to …
WIN a $300 Visa Gift Card
4 thoughts on “How to Replace and Upgrade Your Camper Battery”
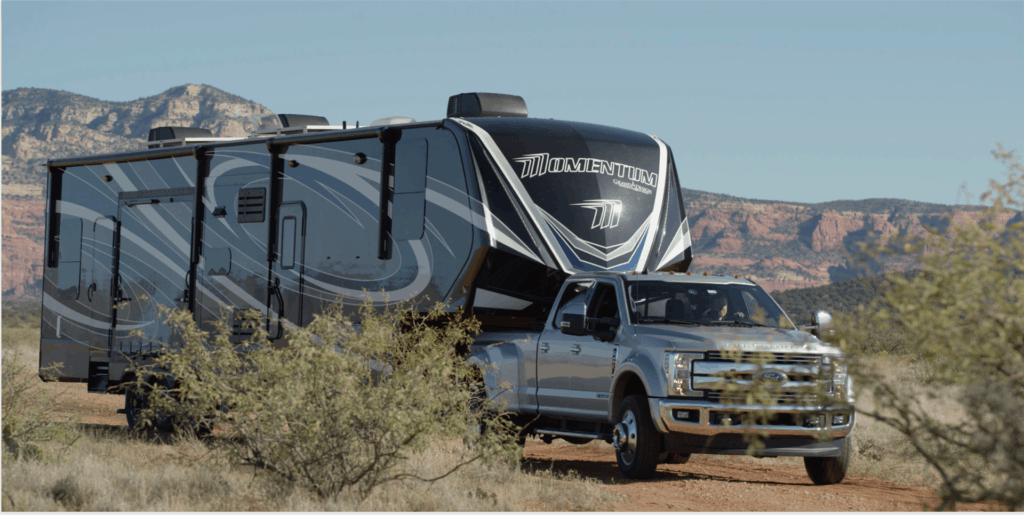
I have recently purchased a 351M-R Momentum toy hauler. It is equipped with a residential refrigerator and a “Jaboni” solar system to include 1-300watt panel, a 30amp MPPT charge controller, and a 2000 watt inverter. I had the system “upgraded to two lead-acid” batteries, but I’m still having issues running the frig and minimal lighting through the night.
what up grades would you recommend? I would like to utilize the Jaboni solar system if possible.
we only dry camp for about a week at a time, so I was thinking 4-100 amp-hr batteries. will I need to upgrade to another 300watt pannel, and 30 amp charge controller?
thanks for your time. Dave.
Hi Dave! Thanks so much for reaching out. The Jaboni panels work great and the solar charge controller has a lithium setting for it. If the inverter is also a charger then we would need to get the model number to see if it is compatible for charging our batteries. If you could give our sales and tech team a call at 855-292-2831 then they will be able to assist.
I have purchased four Battle Borne 100amp batteries. I will be removing four golf cart batteries. I am installing the replacements in a DRV MX 450. The golf cart batteries are in two different compartments which are about 6 ft apart. Should the new batteries be installed together or can I use the present golf cart battery locations? I am also looking for a diagram for wiring two separate banks for parallel setup that can be used for my application. Did not anticipate this level of difficulty doing the upgrade to lithium.
Do you have any installers to recommend in the San Antonio, TX area?
Thank You!!!? in advance for any help
Hi James, thanks for reaching out! Right now we unfortunately do not have any installers in the San Antonio area, as the closest is currently in Austin. If you give our sales and tech team a call at 855-292-2831 we can assist with any questions you might have for the best location.