
MENUMENU
TALK TO AN EXPERT
Special Hours: 7AM – 6PM PST


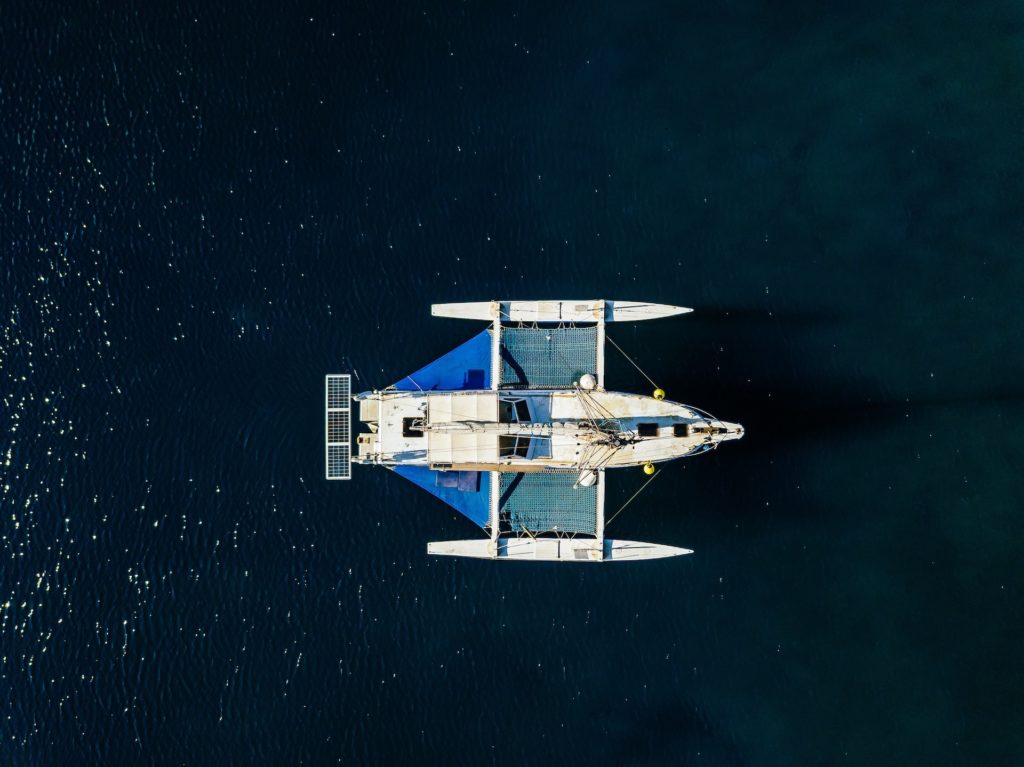
Installing solar on a sailboat is one of the most effective ways to build a reliable, self-sustaining power system at sea. A properly designed solar array can keep your essential systems running quietly and efficiently.
But marine environments introduce challenges you won’t find on land, limited mounting space, constant motion, saltwater exposure, shading from rigging, and the need for safe integration with your battery bank and charging sources.
Our team works daily with sailors, installers, and boat builders to design proven solar and lithium systems for vessels of every size. In this guide, we break down the key considerations, component choices, and installation methods that matter most when outfitting a sailboat with solar power, so you can build a system that’s safe, efficient, and ready for real-world conditions on the water.
If you’re reading this, you likely already understand that solar is one of the most powerful upgrades you can make to a sailboat. Sailors know better than anyone that energy independence matters, especially when you’re miles from shore power and relying on your onboard systems for comfort and safety.
But beyond the obvious appeal of free, renewable energy, solar brings several technical advantages that make it uniquely well-suited for marine applications.
With abundant sun exposure on the water, solar provides consistent charging throughout the day, reduces generator use, cuts down on fuel costs, and keeps your battery bank topped off without added noise or maintenance or risks of flammable fuel. When paired with a well-designed lithium system, solar becomes a quiet, reliable backbone for your onboard electrical needs.
Sailboat solar setups often combine different panel types to maximize functionality and available space. The three major types of solar panels are:
While it’s possible to mix panel types, each type will need to be on its own charge controller to function properly. Standard MC4 connections on panels are adequate for marine environments. But, as with any saltwater hardware, you need to be mindful of bimetallic corrosion with mounting hardware.
Pro Tip: Knowing how solar panels are built helps you choose the right ones for harsh marine environments. Learn more in our article How Solar Panels Are Made.

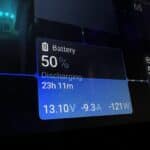
Space and energy demand dictate how much solar you can install. Start by estimating your daily power consumption (in watt-hours), then calculate how much energy your panels can produce in an average day.
A quick guideline: about 180 watts of solar for every 100Ah of battery capacity, assuming roughly four hours of effective sunlight per day. So, if you have a 200Ah battery bank, plan for around 360 watts of solar. If space is tight, prioritize charging efficiency and supplement with alternator or shore charging.
But ultimately, your decision will be based on the room on your boat, the size of your battery bank, and the electronics you can’t go without.
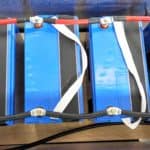
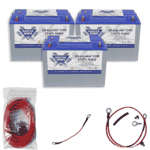
⚠️ Warning! Not all batteries are created equal, and not all of them work well with solar power. By far, lithium iron phosphate batteries are the best solar battery storage out there. Want to learn more? Read Why LiFePO4 Makes the Best Solar Battery Storage.
Because each boat is unique, mounting your solar panels will inevitably take some creativity. Luckily, there are many mounting options on most sailboats. Two of the most obvious spaces are on the deck and the cabin top space. These are both solid, flat surfaces.
Other options include the various rail mounts throughout the boat. These include the stanchion mount, the davit mount, and the arch mount. Another great choice is to mount your panels on your bimini and dodger. If you choose this method, fully flexible panels will be your best option. Most mounts use magnets in this case, but you could even sew the panels into the fabric.
The biggest challenge with sailboat solar is shading from the boom, mast, rigging, and sails. Even small shadows can significantly reduce a panel’s output. To minimize these losses, it’s best to spread panels across different areas of the boat and wire each panel, or each group of similar panels, in parallel.
For optimal performance in partial shading, put each panel on its own charge controller whenever possible, or at least separate different panel types or wattages onto dedicated controllers. This prevents a shaded panel from dragging down the entire array. Parallel wiring and multiple controllers ensure that when one panel is shaded, the others continue producing power at full capacity.
Once your panels are selected and mounted, the next critical step is getting power safely from the array into your electrical system.
Start by running marine-rated, sunlight-resistant wire from each panel to the charge controller. Most PV cable is suitable, but be sure the wire gauge is sized correctly for the maximum current your panels can produce and for the length of the run to minimize voltage drop.
Any wiring that enters the interior of the boat should pass through proper marine waterproof penetrations or deck glands. Take time to seal all penetrations thoroughly—saltwater and moisture intrusion are two of the most common causes of long-term electrical failures on sailboats.
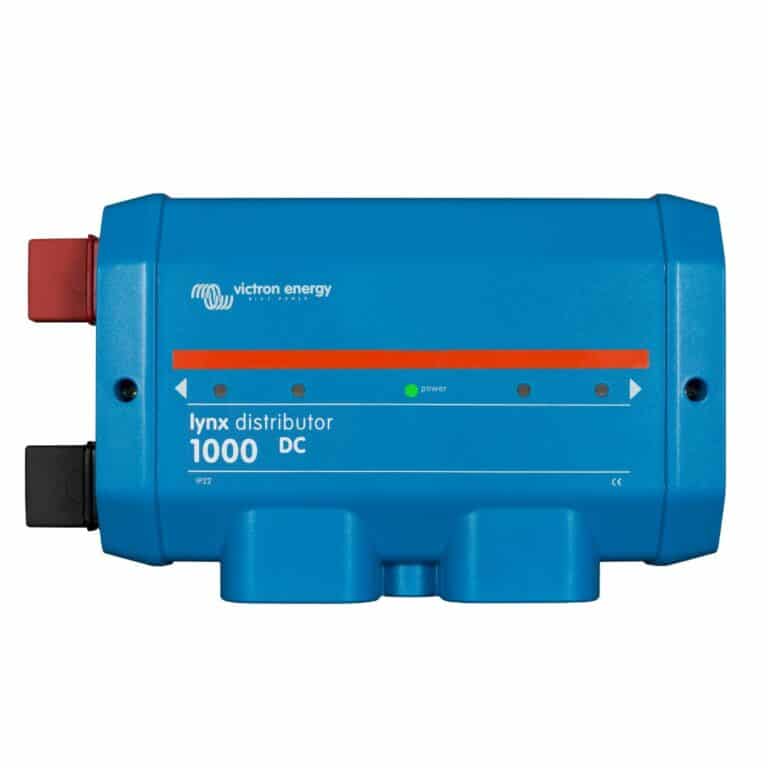
We strongly recommend using an MPPT charge controller, as it maximizes energy harvest and performs better under variable conditions like shading and shifting panel orientation. Choose a controller sized for roughly the peak wattage of your array; slight undersizing is acceptable since MPPT controllers will simply self-limit when output exceeds their rating.
On the battery side, install a properly sized breaker or fuse between the charge controller and the battery bank. Remember that the current on the battery side is often higher than the current coming from the solar panels, because MPPT controllers step down voltage while increasing current. Always size both wire and overcurrent protection for the battery-side load, not just the solar input.
Finally, mount the charge controller in a dry, well-ventilated electrical bay where it’s protected from spray and accessible for inspection. Good airflow is essential—MPPT controllers dissipate heat, and performance can drop if they’re installed in a confined or overheated space.
Pro Tip: Learn more about Electrical Wiring Basics before you place your order.
A DIY solar install can be a great project if you’re comfortable working with electrical systems and marine hardware. Expect to spend time sizing wire gauge, installing breakers and fuses, routing waterproof connections, and integrating your charge controller. You’ll need basic electrical tools, a multimeter, and a solid understanding of 12V DC wiring and safety practices.
If you’re new to marine electrical systems—or simply want peace of mind, hire a qualified ABYC-certified marine electrician or solar installer. A professional can ensure your system complies with marine safety standards and performs reliably in salt, humidity, and motion. Either way, our Nevada-based Battle Born technical team can walk you through product selection, wiring layouts, and charge controller setup so your installation goes smoothly.
Want to give DIY a try but need a little guidance? When you order with us, our Nevada-based Tech Support team is on standby to help! Call us at (855) 292-2831 and one of our experts will assist you.
We know that building or upgrading an electrical system can be overwhelming, so we’re here to help. Our Reno, Nevada-based sales and customer service team is standing by at (855) 292-2831 to take your questions!
Also, join us on Facebook, Instagram, and YouTube to learn more about how lithium battery systems can power your lifestyle, see how others have built their systems, and gain the confidence to get out there and stay out there.