
MENUMENU
TALK TO AN EXPERT
Special Hours: 7AM – 6PM PST
TALK TO AN EXPERT
Special Hours: 7AM – 6PM PST
The Victron Energy Cerbo GX is an all-in-one communication center that offers complete control over your system while maximizing performance. In the complete GX system, the Cerbo is the central hub for monitoring and communication to optimize performance. The Cerbo GX can also be paired with the GX Touch 50 display to give you a quick overview of your system and settings with just the tap of your finger. To get the most out of this system, we recommend programming it to work with the Victron Remote Management (VRM) portal to access VictronConnect.
How to Program Your Cerbo GX for Victron Remote Management (VRM)
During the initial installation procedure, we recommend setting up the Victron Cerbo GX in the VRM Portal. This will ensure that if you ever need remote support, your Cerbo GX will already be connected to your VRM account. Then, you can quickly receive remote support for your GX system whenever required.
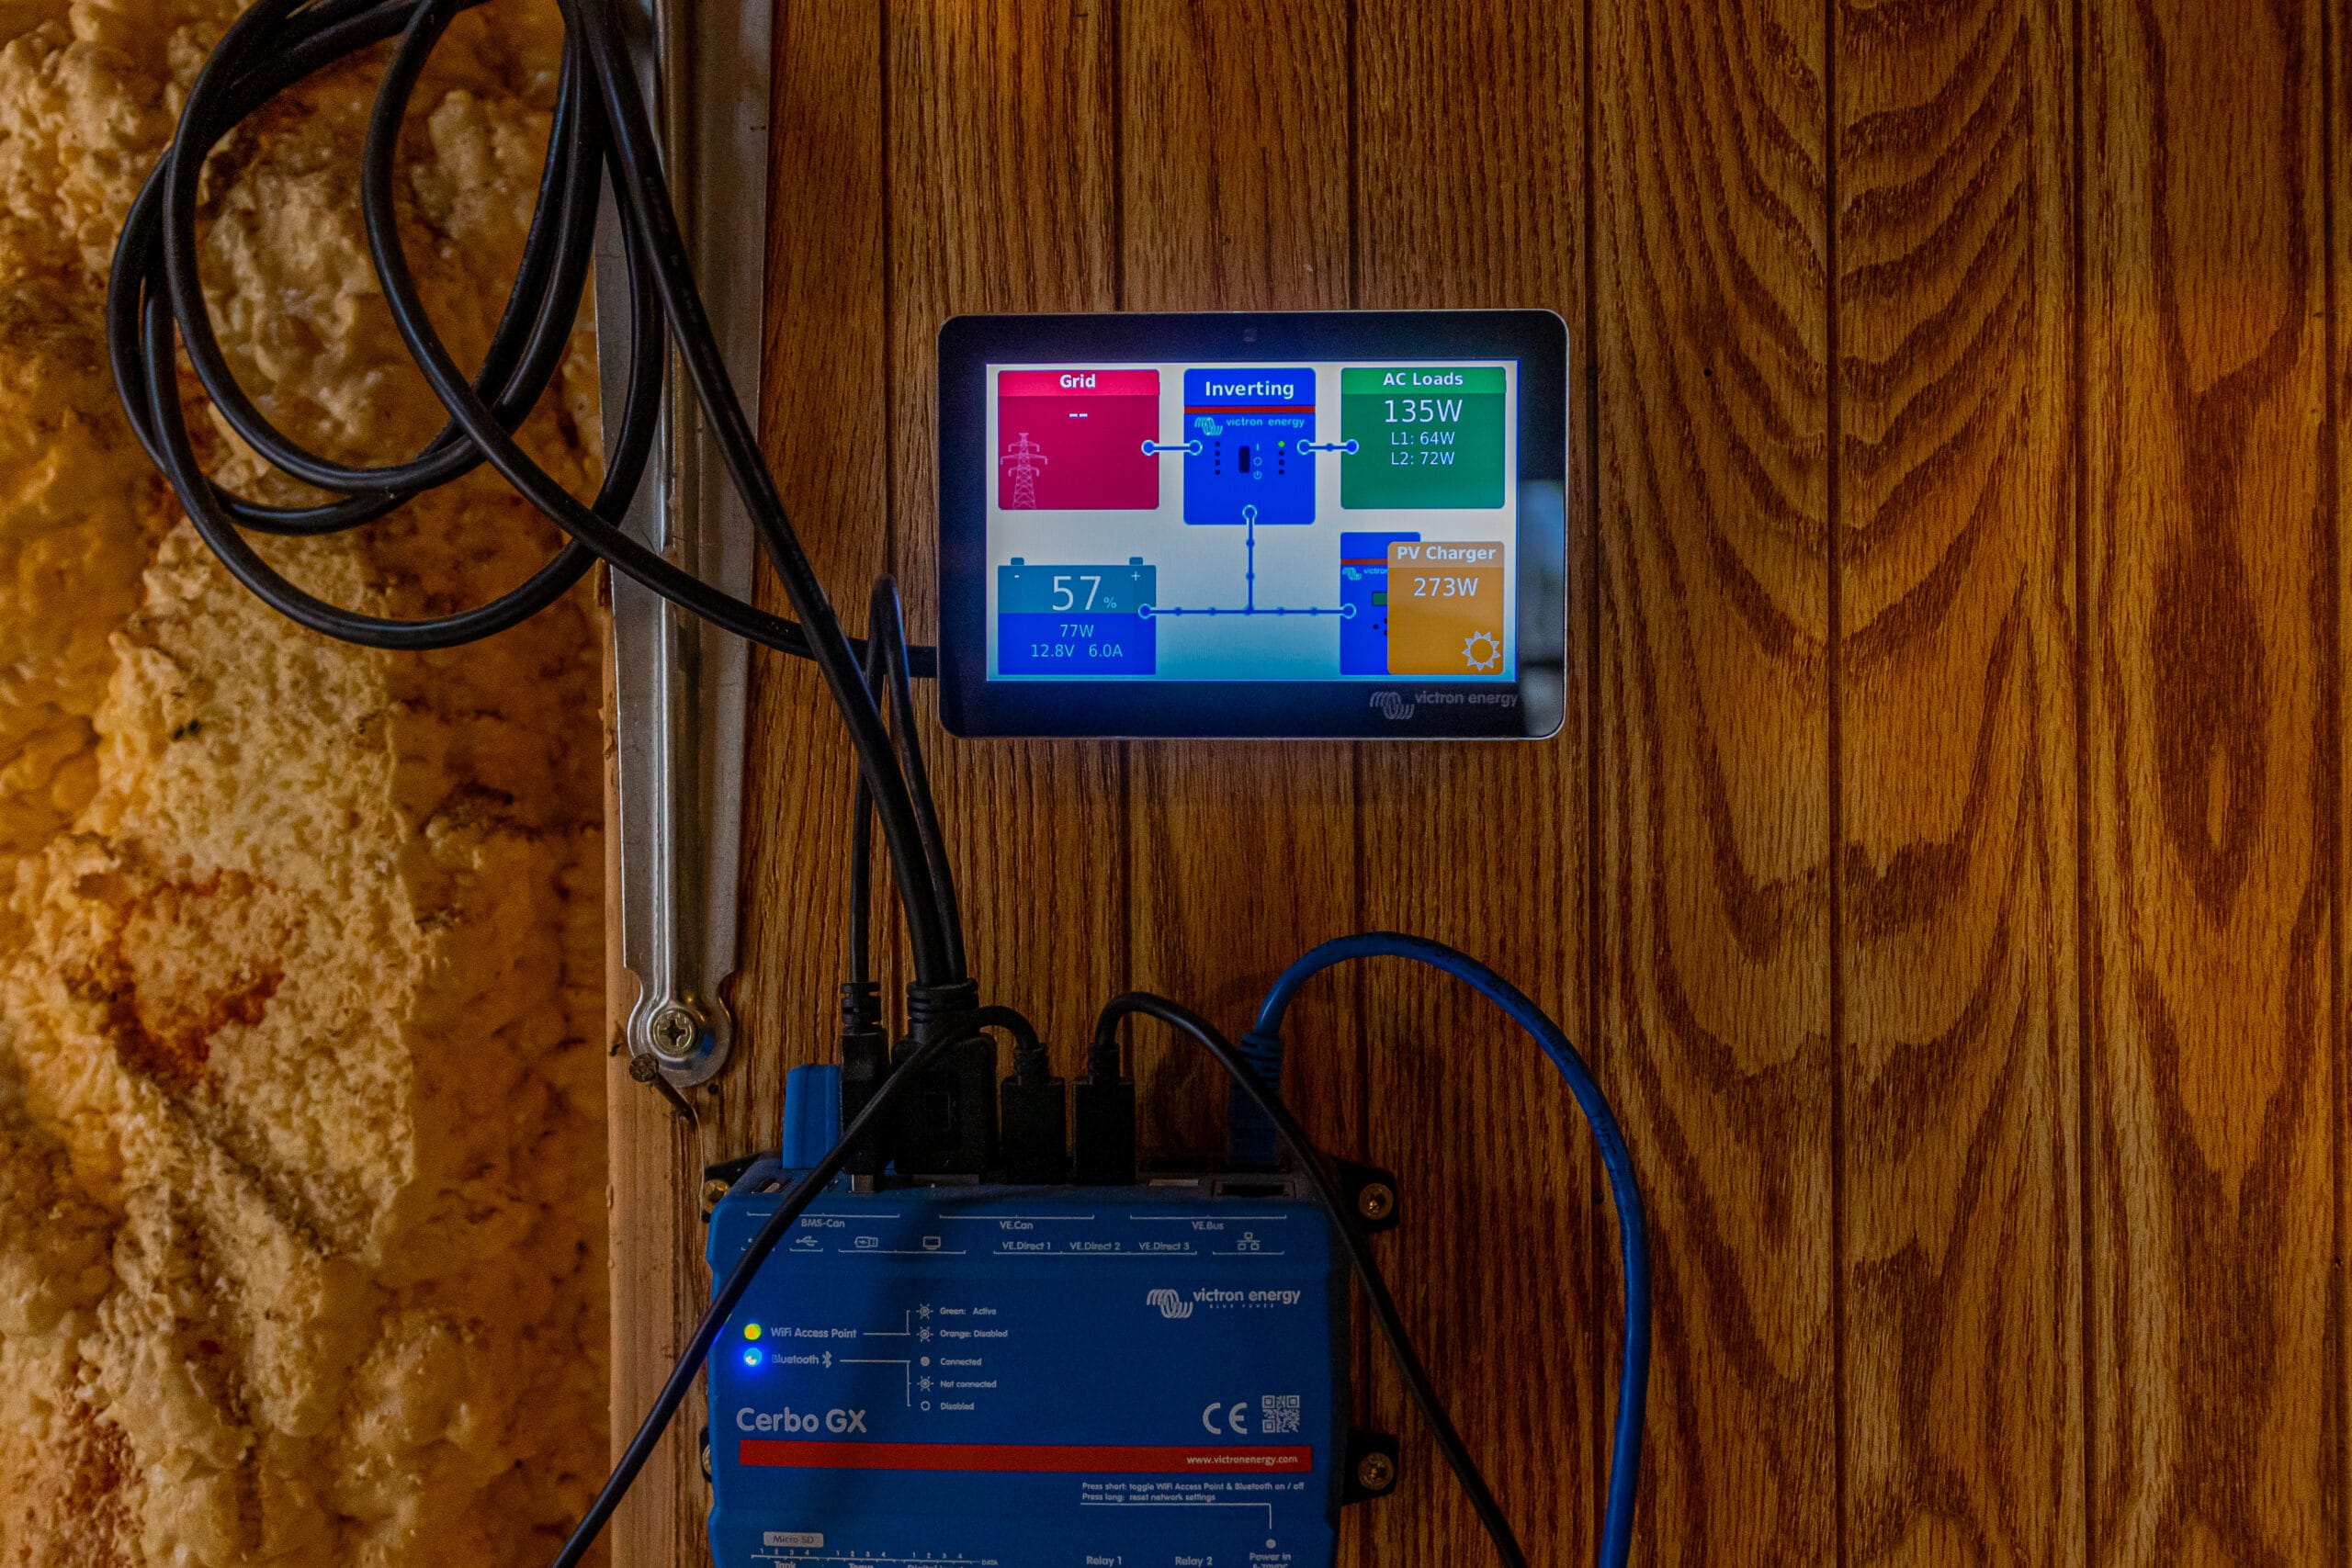
Connect your Cerbo GX to the Internet through the GX Touch 50 display. To use Wi-Fi or a Wi-Fi phone hotspot, go to SETTINGS > WIFI > WIFI NETWORKS to connect the Cerbo GX to your network. To use wired ethernet, plug your ethernet cord into the port on the Cerbo GX.
Go to SETTINGS > VRM PORTAL > VRM PORTAL ID and write down your portal ID as displayed at the top of the screen.
In a web browser, go to vrm.victronenergy.com and register for a VRM account. REMEMBER: Your account setup will not be complete until you verify your email.
Once your account is activated, select ADD INSTALLATION and Cerbo GX from the options below. Then, enter your portal ID and name your system in the appropriate fields.
Now that your system is online, you can follow these steps for full VRM access:
On your GX Touch display, return to your Cerbo GX and select SETTINGS > VRM ONLINE PORTAL > ENABLE TWO-WAY COMMUNICATION.
Once two-way communication is enabled, return to SETTINGS, select > GENERAL > REMOTE SUPPORT, and ENABLE REMOTE SUPPORT.
Next, head to the REMOTE CONSOLE in the SETTINGS and be sure to ENABLE VRM and DISABLE PASSWORD CHECK.
Finally, to ensure these new settings take effect, you need to reboot your Cerbo GX. To do this, go to SETTINGS > GENERAL > REBOOT.
Once your Cerbo has rebooted, head back to the VRM page you opened on a web browser. Here you must:
Now that your Cerbo GX is connected to VRM, you will have access to Victron support if you ever need it. To make support cases even more accessible to resolve, you can add a photo or wiring diagram of the system to give your support tech a more precise picture or add extra details they can view later.
Watch this step-by-step video for further assistance setting up your Cerbo GX with VRM.
Building or upgrading an electrical system can be overwhelming, so we’re here to help. Our Reno, Nevada-based sales and customer service team is standing by at (855) 292-2831 to answer your questions!
Also, join us on Facebook, Instagram, and YouTube to learn more about how lithium battery systems can power your lifestyle, see how others have built their systems, and gain the confidence to get out there and stay out there.
Shop Best Sellers


Ask a technical specialist now at 855.292.2831
Stay in the Know