
MENUMENU
TALK TO AN EXPERT
Special Hours: 7AM – 6PM PST
TALK TO AN EXPERT
Special Hours: 7AM – 6PM PST
You might be in for a shocking surprise if you’re working with electricity and don’t know how to use a digital multimeter. Safety is one thing that you can never ignore when working with electricity. While a multimeter can help you avoid getting electrocuted, it can also be handy in diagnosing electrical issues, building circuits, and testing operations.
Today, we’ll share what you need to know about the devices and how to get started with a digital multimeter.
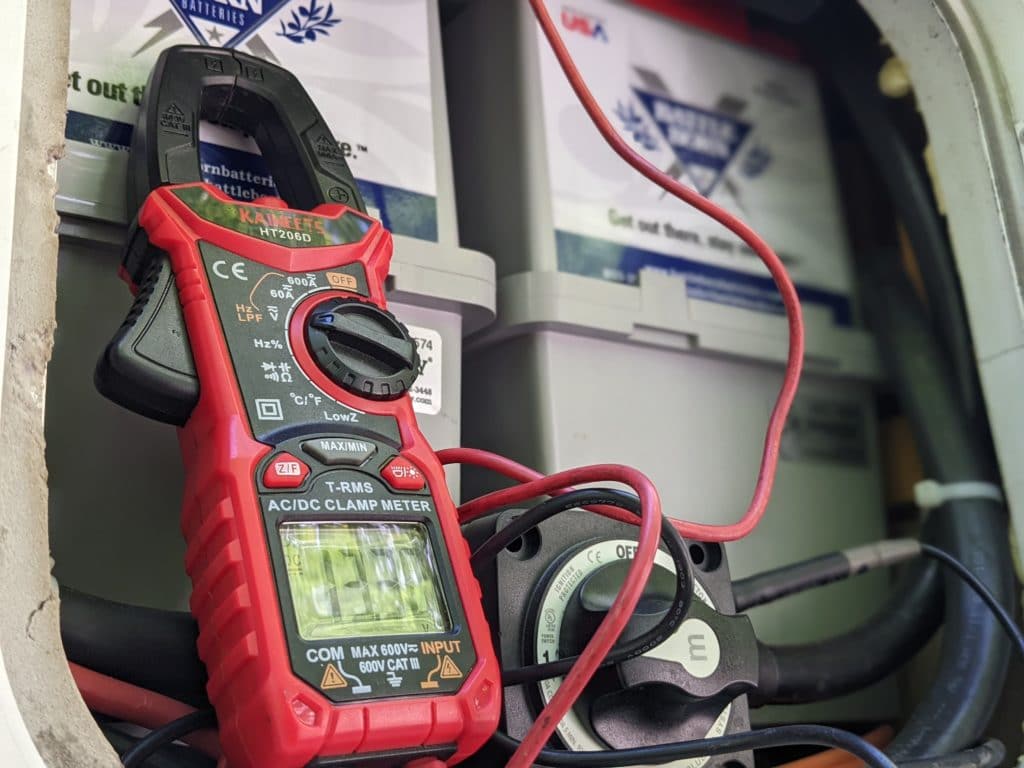
A digital multimeter is a standard piece of equipment used by technicians when working with electrical connections. These devices can measure two or more electrical values. These values may include voltage, current, and resistance.
The first digital multimeter hit the market in 1977 from Fluke. These devices are superior to the previous analog needle-based meters. They’re incredibly accurate, reliable, and easy to use.
Using a digital multimeter can help you isolate and locate faults in an electrical system. This could be disconnected wires, wires connected in the wrong way, or shorted together. These faults can be dangerous if not addressed. Smoke, sparks, and fire are all risks when you have faults in your system. A digital multimeter can help you quickly isolate the problem and address it before it becomes a significant issue.
You can use it for lots of different tasks when you know how to use a multimeter. It’s so essential that every electrician will always have one and it’s usually the first tool used. This tool is essential, and anyone with a toolbox should make sure they have one in it.
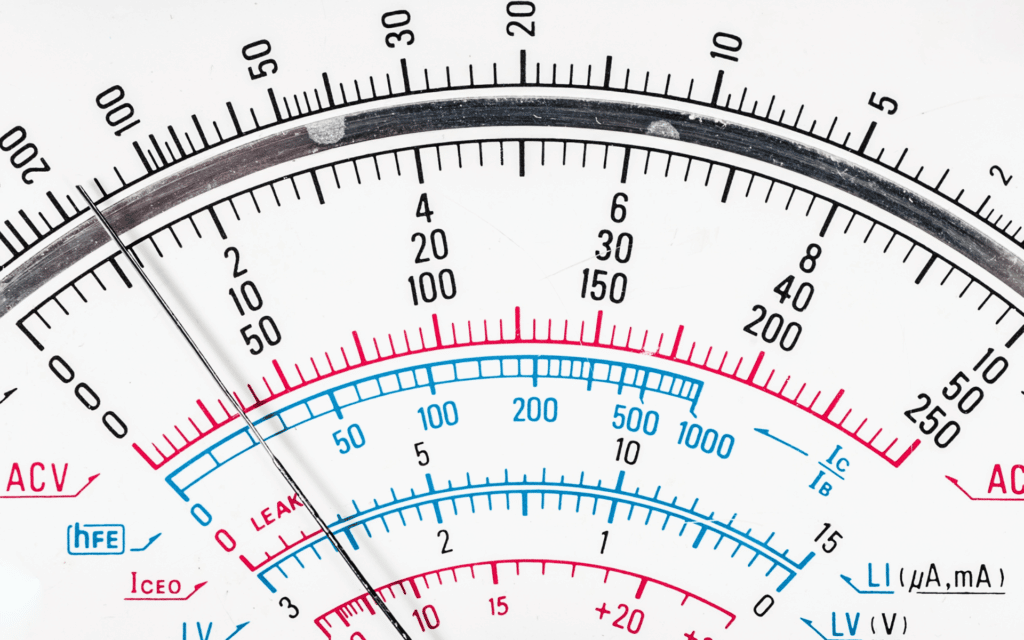
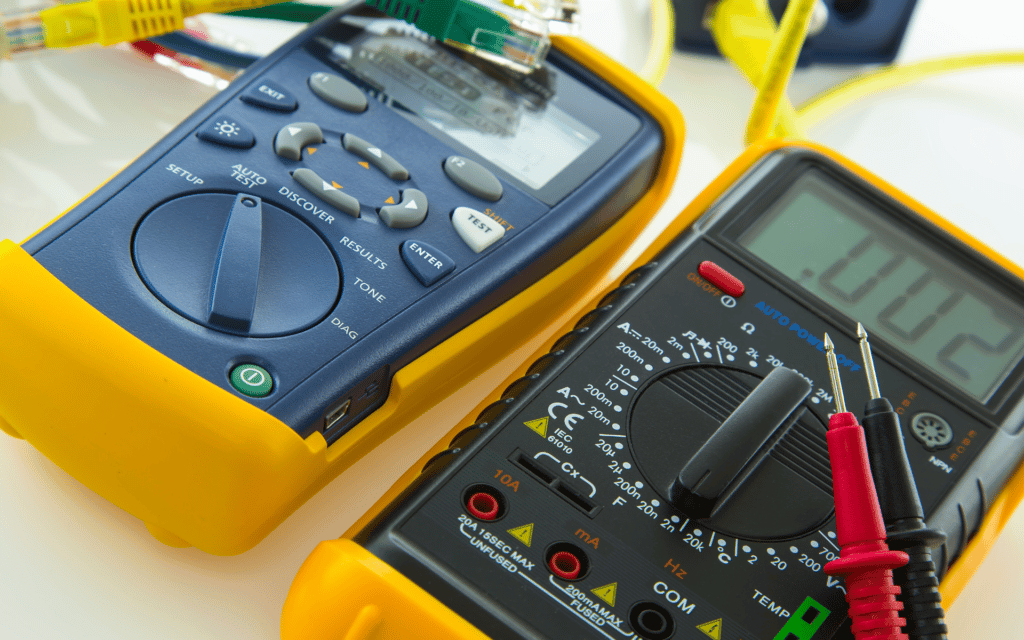
Multimeters can be simple and cost-effective or have lots of features and cost hundreds of dollars. Choosing what’s right for you will depend on what you need to use it for.
Here at Battle Born, our products are primarily used for off-grid energy storage at 12, 24, or 48 volts. However, inverters are commonly used in battery systems that run at 120 or 240V AC. When shopping for a multimeter, we recommend getting an auto-range multimeter. This means that the multimeter will automatically select the range of measurement and display it on the screen.
These are easier to use and much less intimidating to learn than the manual versions that have lots of selections just to get it to work. Simply turn on the device and select the value (voltage, resistance, or current) and start measuring the specific connections to get a very accurate reading.
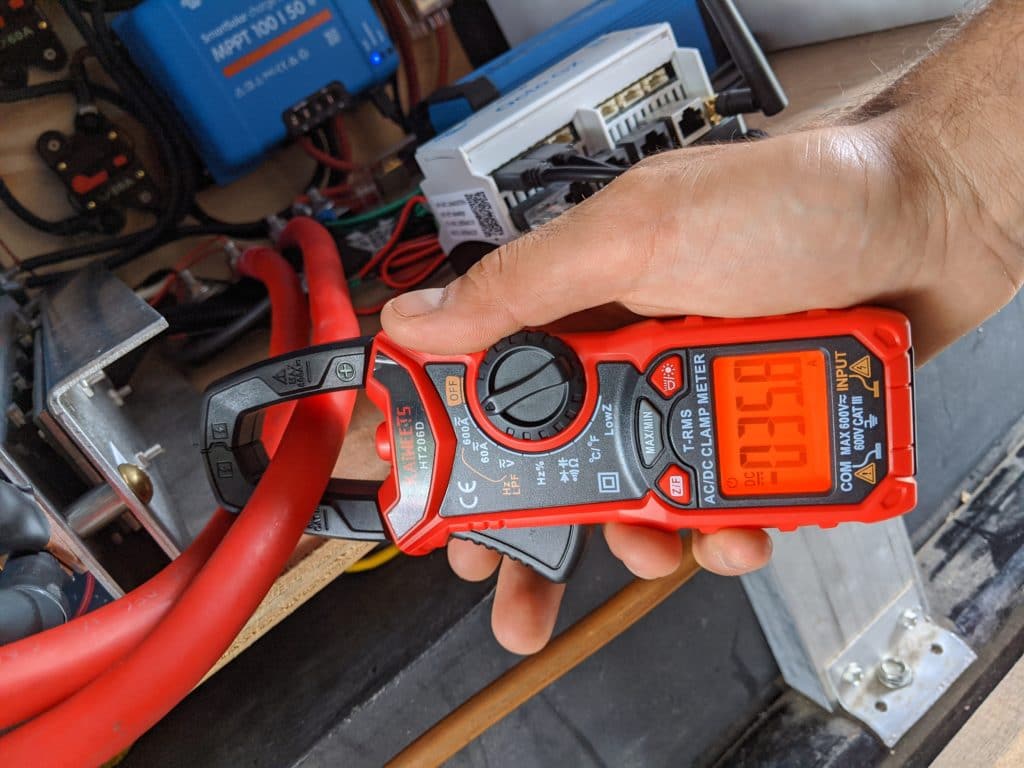
In addition to auto-ranging, we recommend getting a unit with an amp clamp. This makes measuring current (flow) a lot easier. This is a measurement that is used a lot in battery systems to see if a battery is charging or discharging.
You may have to pay $50+ for one of these, but it’s worth the premium price for the accuracy and usability.
There are many basic measuring functions that you can do with any multimeter but the most important are Volts, Amps, and Resistance. And just about anyone can make use of these functions once you understand them.
Suggested Reading: If you are new to learning electricity, reading our article about What Are Amps, Volts and Watts will help you before you make any measurements.
The voltage represents the amount of electrical “pressure” present. Any voltage higher than 50 volts can shock you so knowing whether a connection or device has voltage is essential to staying safe when working with electricity.
Testing voltage is the quickest way to tell if there is power to a device and should always be done before working on anything electrical. Measuring voltage can also tell you if wires are connected (no voltage not connected) or if a device is working properly (if the voltage is within the expected range or too high or low).
Measuring resistance with a digital multimeter makes it easy to diagnose failing components. You can identify a failing circuit or other components by the amount of resistance present. If a circuit or component has low resistance, it will have a high current flow. However, a higher resistance will result in a low flow of current.
Sometimes a manufacturer may specify a specific resistance their product should be within that you can test with a multimeter.
Another basic measuring function of a multimeter is measuring continuity. This is the opposite of resistance and indicated how “open” an electrical path is.
This allows technicians to detect broken wiring or failing contact points from a button or switch circuit. Having a secure connection between both ends is essential when dealing with electrical connections. Measuring continuity can help identify incorrect wiring connections or disconnected connections.
Amps are the amount of current flowing through a device or circuit. A multimeter can help you measure the amount of load an item pulls. This can help you avoid overloading your electrical system. Wires are only rated for so much ampacity and it’s important to not overload them.
If you need to use a multimeter, make sure you’re using it correctly. Using your digital multimeter incorrectly can damage your multimeter and provide inaccurate readings. Let’s look at how you can use your multimeter to take a handful of simple measurements.
How to Do It: Set the multimeter to DC voltage (sometimes AC and DC are the same on an auto-range unit) and adjust to how many volts you’ll be measuring (if not auto-range). If you’re unsure of the number of volts, start at the highest setting and work your way down to fine-tune the measurement.
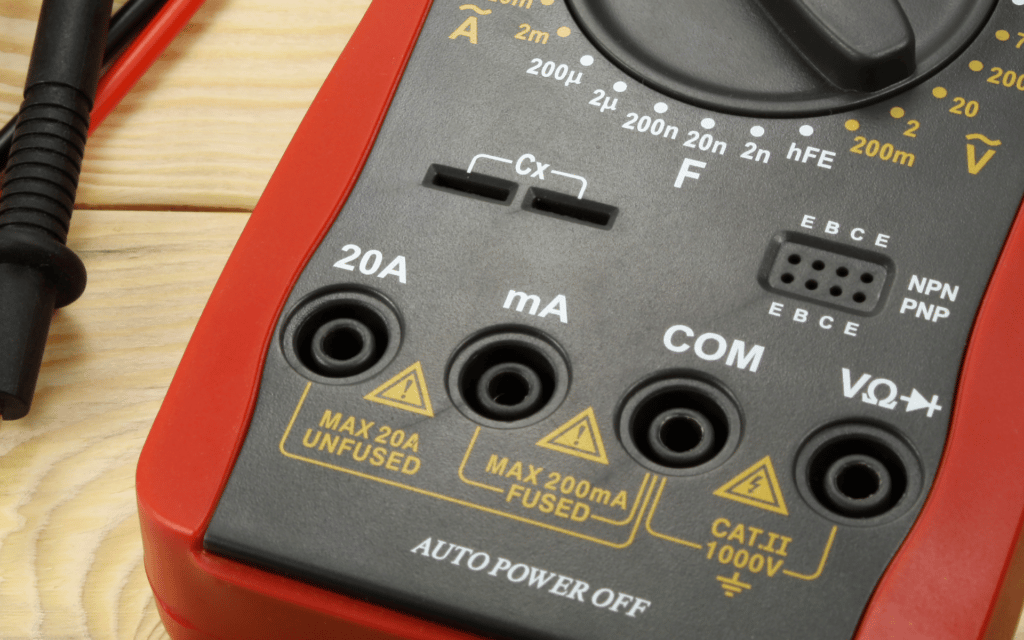
Place your black probe into the common jack and the red plug into the jack labeled for DC voltage. You can then touch the black probe to the negative side of the circuit and the red probe to the positive terminal. The digital multimeter will display how many volts are in the battery. Its ok if the probes are connected backward the voltage will just read negative.
Conclusions You Can Draw: If you’re checking the DC voltage, it’s likely going to be something that requires a battery. You can measure battery voltage directly or in different parts of the circuit. Low voltage will indicate a problem or discharged battery. This is a very simple and basic test that should be one of the first tests when experiencing electrical issues.
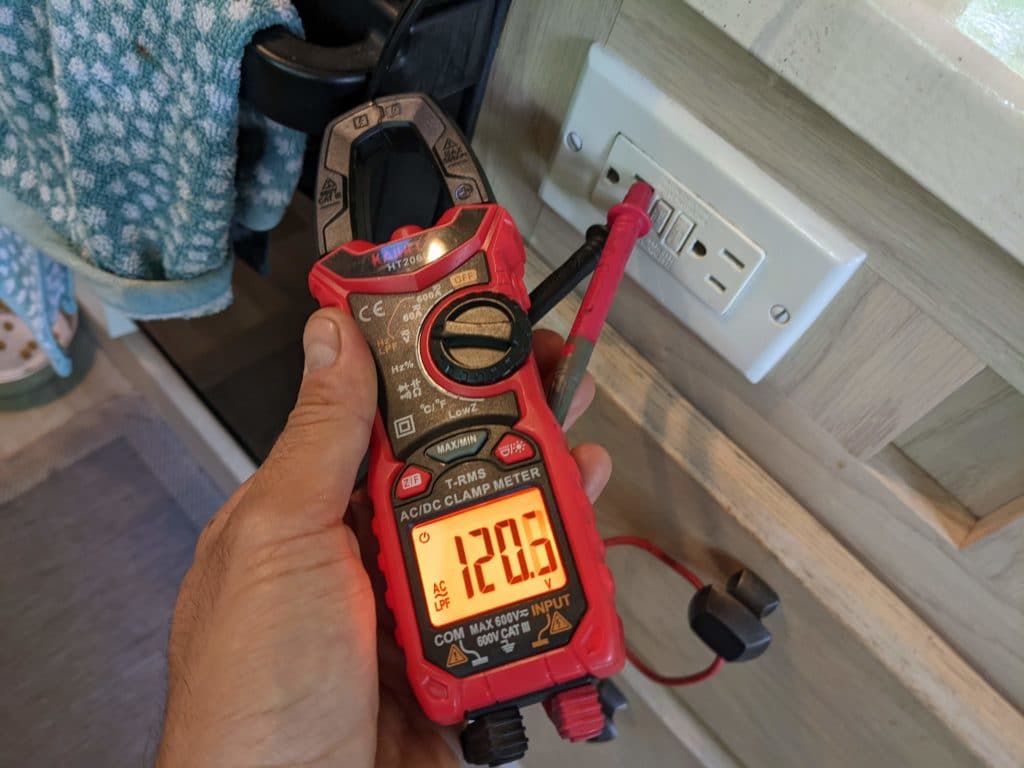
How to Do It: You can leave jacks plugged into the same position as the DC voltage, but you need to adjust your digital multimeter to read AC voltage instead of DC voltage (unless auto-ranging). Like with the DC voltage, adjust the multimeter based on the number of volts you’re measuring. When unsure, start at the highest setting and work your way down.
Before you go measuring higher voltages, you need to be sure your multimeter, the lead wires, and the leads themselves are in good condition. You don’t want to shock yourself during this measurement!
Take the ground test lead (black) and place it on one component or socket and the positive test lead (red) on the other component or socket. The multimeter will tell you the amount of voltage you’re receiving at the socket or connection.
Conclusions You Can Draw: Any device that plugs into a wall socket or outlet will run off AC power. Keep your fingers away from the ends of the lead when taking this measurement! You should be able to see if you’re getting the voltage you expect.
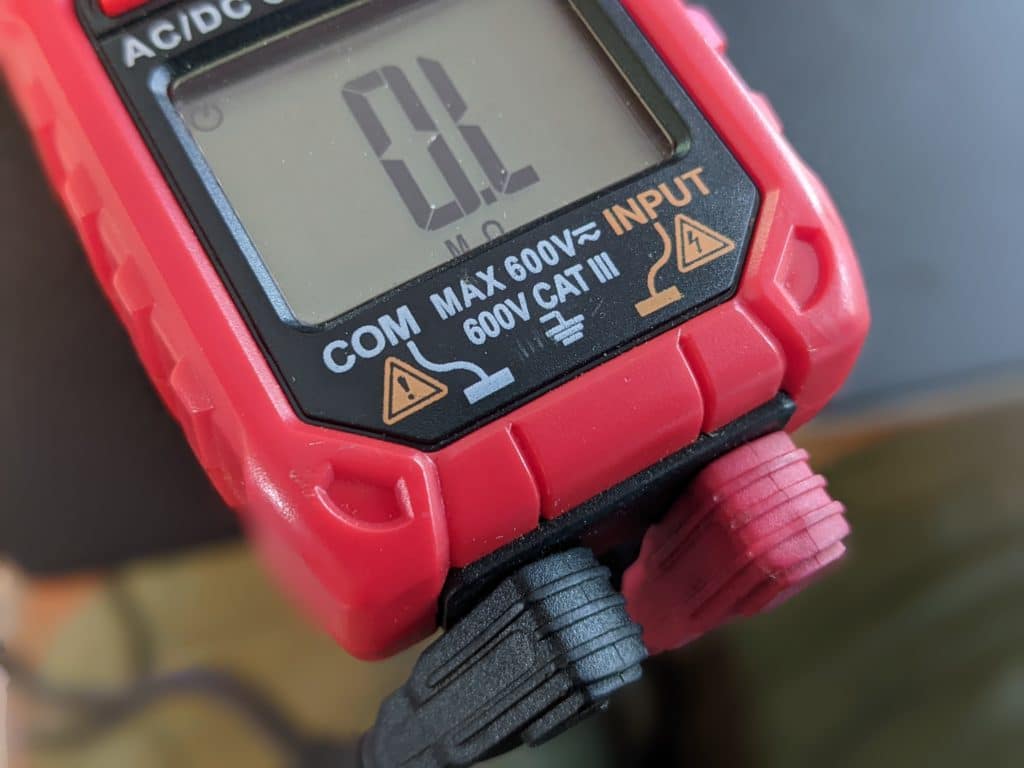
How to Do It: As with all measurements, you need to set your multimeter to the setting just above the measurement you expect to see. Touch the probes to either end of the connection or the wiring you wish to test. If the multimeter reads “1” or “OL, ” you need to move down the measurement scale. Once you reach a low enough setting on the multimeter for the connection, it should display a number. If there is a large amount of resistance, it could result from dirt and debris or other foreign substances.
Conclusions You Can Draw: If the meter continues to read “OL” then this means it is not sensing a connection. Measuring the resistance of a wire or component can help you easily pinpoint failing wiring or components. If you take a measurement and discover a high amount of resistance, you’ll likely need to replace the wiring or component. This can be particularly helpful when checking fuses.
How to Do It: Most meters measure continuity by playing a beep tone to let you know the wires are connected. Usually, a selection needs to be made on the meter to choose this option, frequently it looks like a little audio icon. The leads should be in the positive and COM terminals still.
The digital multimeter will send a small voltage through the circuit to play a tone. Attach one lead to one end, and the other test lead to a pin on the other end. You’ll hear the tone if the connection is fine. If there is no tone, you’ll need to do a bit more investigating of that connection to figure out why it’s not connected.
Conclusions You Can Draw: Measuring continuity will help you detect shorts or breaks in the wiring. This could be from damaged or cut wiring somewhere in your system.
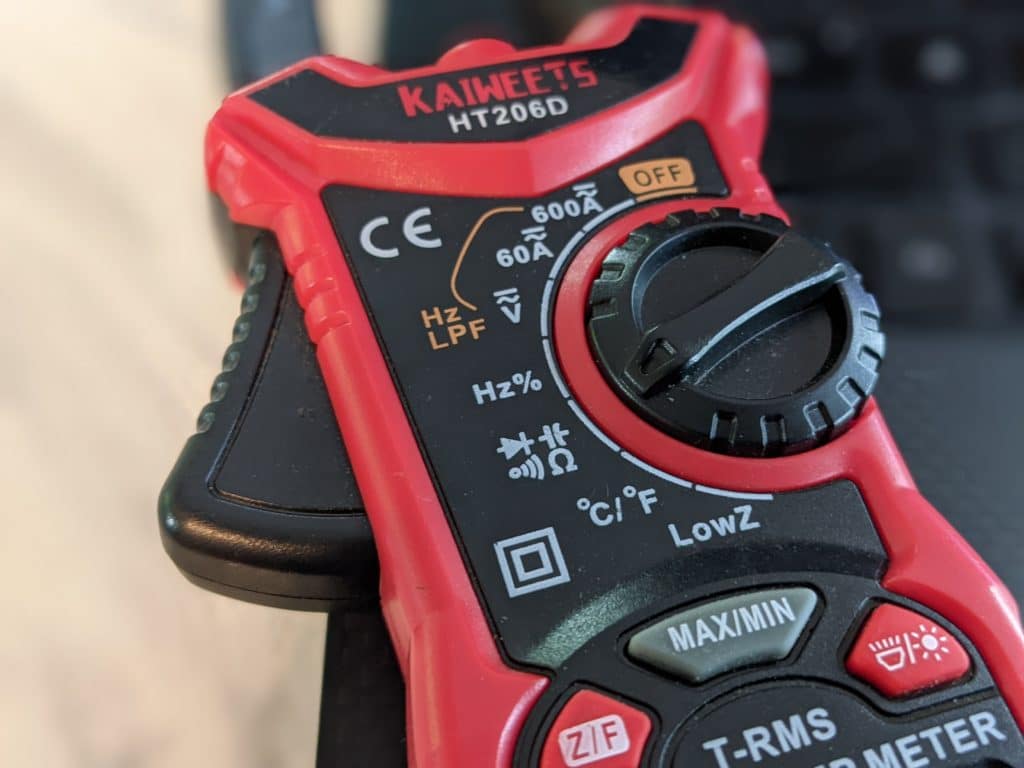
How to Do It: Amperage can be measured using the leads on the meter (for small amperage) or an amp clamp if the meter includes it. If using the leads you will need to break the circuit so that you run all the current through the meter. If you are inexperienced with electrical circuits we do not recommend you take this measurement because it can overload your meter easily if the wrong setting is used.
Measuring with an amp clamp, however, is a very easy and safe measurement to take. First set the meter to AC or DC amps. DC will be battery systems and AC will be shore or inverter power. Take the meter and clamp it around only ONE of the wires in a pair. The meter will measure the current flowing in one wire. If you clamp it around two wires they will cancel each other out and you will not get a measurement.
Conclusions You Can Draw: Using an amp clamp is a great way to see if a battery is charging or discharging and by how much. It can also be used to see if an alternator is working or how much power a device is pulling.
You can’t be too safe when using a digital multimeter. You should keep in mind several safety tips when using a digital multimeter. Let’s take a look!
It’s important that you watch what you’re doing when placing the probes. By errantly touching a probe to a connection, the user can short out wires and circuit boards on devices. This can render many electronics useless.
You must keep your probes straight when connecting to the meter. Attaching the wrong probe to the wrong plug can cause serious damage to your electronics and multimeter. Black always goes in COM and red only goes in voltage/resistance measurement. Accidently putting it in the amp port can cause a short.
If you’re detecting heat, it’s time to call in a professional. A hot system is not something that an untrained professional should be attempting to handle themselves. There’s too much at risk, and you don’t want to test your luck when it comes to an electrical fire.
Before you touch your digital multimeter probes to any connections, it’s important to ensure you’re in the right setting or mode. If you’re measuring voltage and have your multimeter in the mode to measure current, you can short your multimeter and end up with a paperweight that used to be a multimeter.
If you’re using a multimeter that’s not rated for the voltage you’re measuring, arc flash can occur. This is where the electrical current leaves the path and travels from one conductor to another. This can result in serious injuries and even death. Usually, most meters are rated for 600volts but always know the limits.
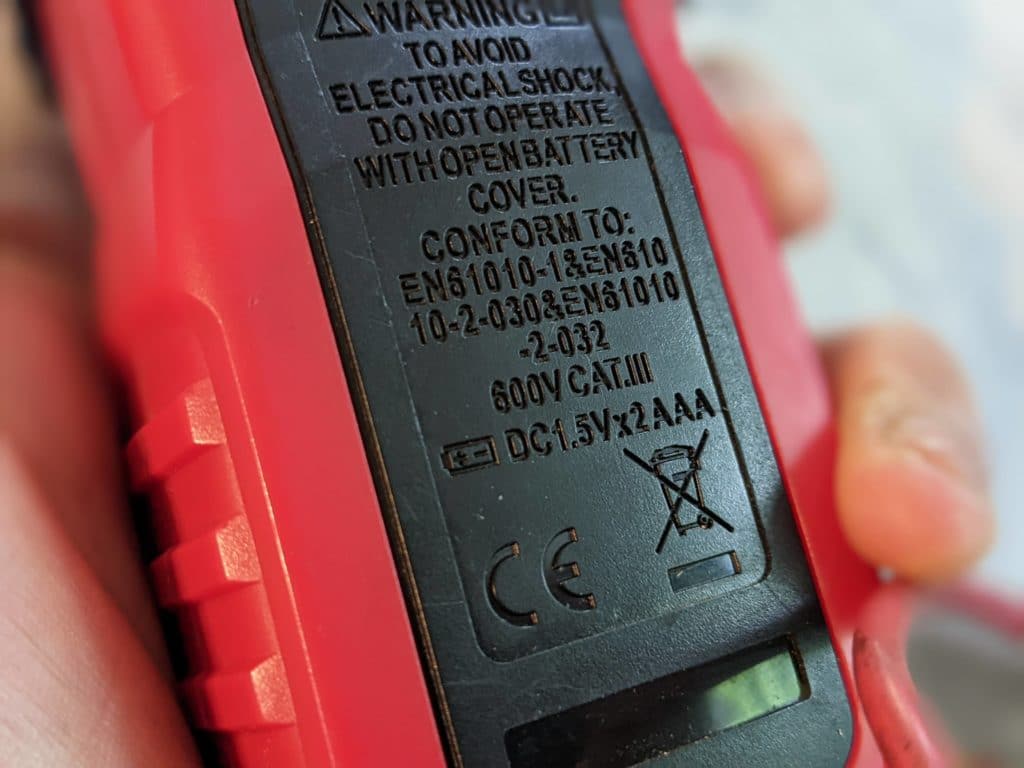
Know when you’re biting off more than you can chew. Don’t attempt to work with high energy or voltage systems if you don’t have the skills, knowledge, and proper tools. Even a small mistake can be costly when working with high energy or voltages.
Having a multimeter can help you better understand how your electrical system functions. However, knowing how to use it properly is equally important as owning it. If you learn how to use it, you can diagnose some electrical issues yourself and even fix them. However, always reach out to a certified professional when in doubt to avoid making a costly mistake.
We know that building or upgrading an electrical system can be overwhelming, so we’re here to help. Our Reno, Nevada-based sales and customer service team is standing by at (855) 292-2831 to take your questions!
Also, join us on Facebook, Instagram, and YouTube to learn more about how lithium battery systems can power your lifestyle, see how others have built their systems, and gain the confidence to get out there and stay out there.
Shop Best Sellers

Ask a technical specialist now at 855.292.2831
Stay in the Know
One thought on “Electrical 101: How to Use a Digital Multimeter”
Wow, I was totally lost when my old analog multimeter died, but this post helped me understand how to use a digital one. Simple and clear instructions, perfect for a beginner like me!