
MENUMENU
TALK TO AN EXPERT
Special Hours: 7AM – 6PM PST


Few things end a great camping trip faster than a dead battery. Keeping your RV batteries properly charged is the key to reliable lights, refrigeration, and comfort on every trip. This guide explains how to charge your RV batteries using shore power, generators, solar panels, and alternator systems.
We’ll cover safe charging practices for both lead-acid and lithium (LiFePO₄) batteries, how to choose the right charger, troubleshooting tips, and what to do when temperatures drop below freezing.

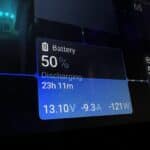
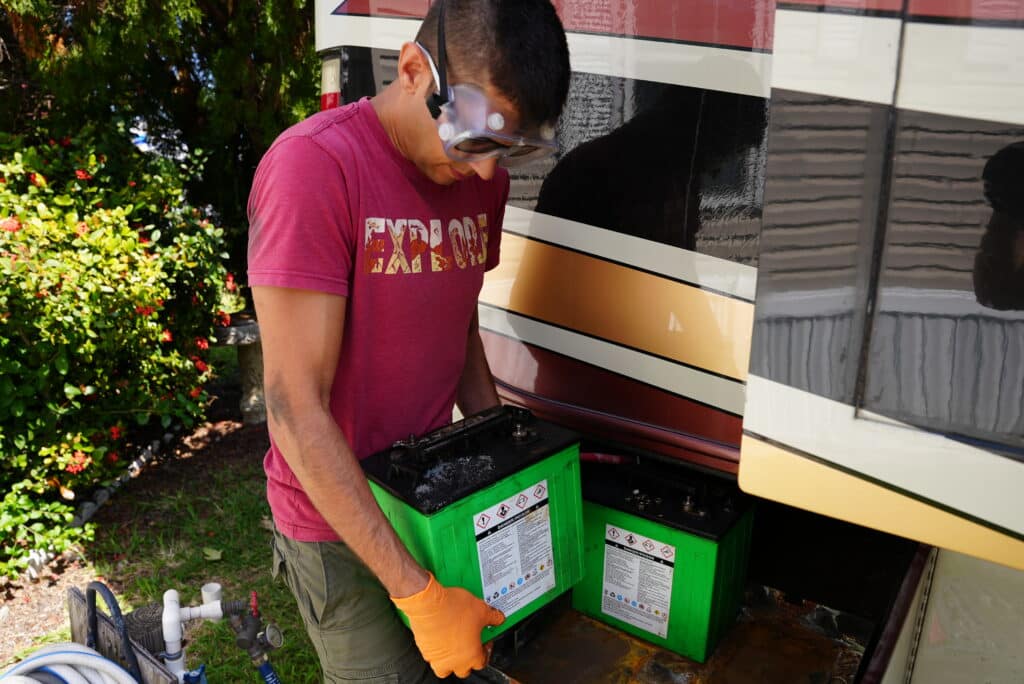
Every RV uses deep-cycle batteries to power lights, water pumps, appliances, and electronics when you’re not plugged into shore power. A deep-cycle battery is designed to deliver steady energy over an extended period and to be repeatedly discharged and recharged.
This is very different from a starting battery, which delivers a short burst of high current to start an engine but isn’t built to handle deep discharges. Using a starting battery for RV house power would quickly shorten its lifespan. Deep cycle batteries, on the other hand, are built with specialized chemistry that allows for hundreds (lead acid) or even thousands (lithium) of charge cycles.
Deep cycle RV batteries come in two main chemistries used in RVs: lead-acid and lithium (LiFePO₄). Understanding what you have and how it accepts a charge is essential for proper charging, long life, and reliable system performance.
Flooded, AGM, and gel batteries are still common in many RVs. They charge more slowly, are less efficient, and require more maintenance than lithium batteries. However, they can tolerate a wide range of charging equipment.
Flooded lead-acid batteries require regular maintenance to stay healthy. They need periodic watering with distilled water and must be vented during charging to release hydrogen gas, which means they cannot be installed in sealed compartments or living spaces. This is why they’re typically mounted on the front of trailers or housed in vented battery boxes open to the outside.
In contrast, AGM and gel batteries are sealed and maintenance-free, offering a cleaner installation but greater sensitivity to overcharging. However, we still recommend installing this type of battery in vented compartments, as they can offgas when overcharged.
All lead-acid batteries rely on multi-stage charging—typically bulk, absorption, and float—and perform best when temperature compensation is used to prevent overvoltage in hot conditions or undercharging in cold environments. We’ll cover the specifics of charging these battery types in detail later in this guide.
Lithium iron phosphate (LiFePO₄) batteries offer a modern alternative to traditional lead-acid designs, providing higher efficiency, faster charging, and longer service life. Unlike lead-acid batteries, they don’t require watering, venting, or periodic maintenance, and they can safely be installed inside the RV or in sealed compartments.
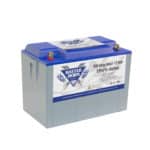
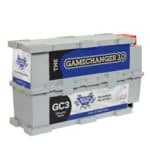
Each Battle Born LiFePO₄ battery includes an integrated Battery Management System (BMS) that protects against overcharging, over-discharging, and low-temperature charging, allowing for safe, consistent performance in a wide range of conditions.
Because lithium batteries maintain a steady voltage throughout discharge and don’t require equalization or float maintenance, they deliver reliable power with minimal oversight.
Later in this guide, we’ll cover the recommended charging settings and best practices for keeping lithium batteries performing at their best.
💡 For a deeper explanation of how these battery types differ, see The Truth of Lead-Acid vs. Lithium-Ion Batteries in RVs.

RV battery systems can charge from several sources, each with unique considerations depending on your setup and battery chemistry.
⚠️ Before connecting to any power source—shore power, generator, solar, or alternator—it’s important to confirm that your charging equipment is compatible with your battery chemistry.
A charger designed for lead-acid batteries may not reach the proper voltage levels for lithium, and using the wrong settings can lead to undercharging or even damage. Lithium battery chargers will overcharge lead acid and can cause dangerous conditions.
If you’re unsure what charger is best for your RV setup, we’ve outlined several proven options and methods in ➡️ The Best Deep Cycle Lithium Battery Chargers and Charging Methods.
Here are 5 of the most common ways folks charge their camper batteries and how it’s done:
Plugging into a campground pedestal or household outlet delivers 120V AC power to your RV’s converter/charger, which then converts it to 12V DC to recharge the batteries.
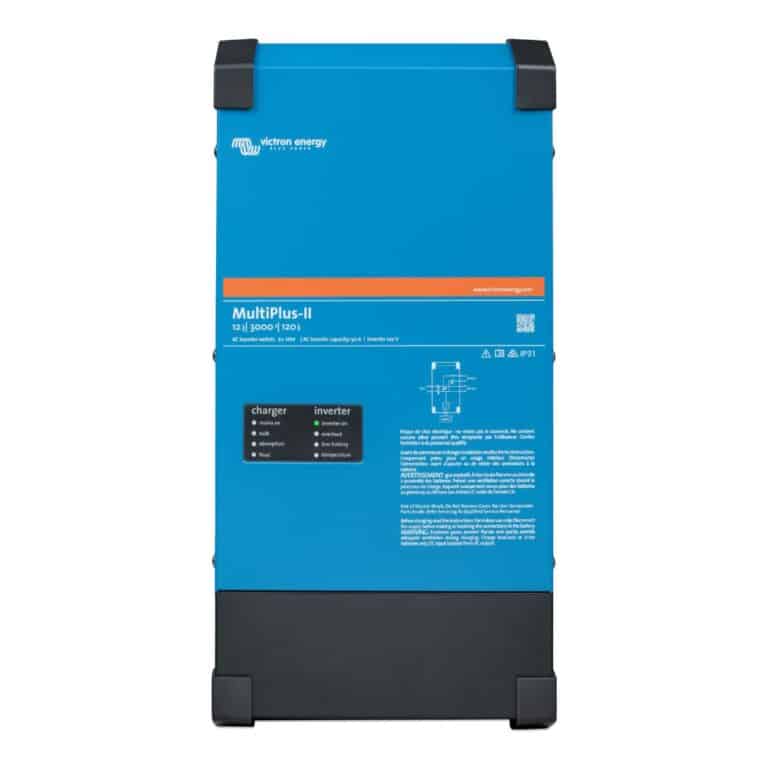
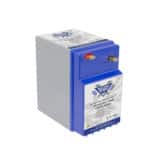
Battle Born recommends chargers such as the Progressive Dynamics 12V 30 Amp LiFePO4 Battery Charger series or the Victron Energy Blue Smart IP65 Charger, both of which are optimized for LiFePO₄ use. Many inverter chargers are a great option as long as they have selectable or programmable charge profiles.
⚡️ Learn more about lithium charging profiles in Charging Lithium Batteries: The Basics.
A generator provides an alternative AC source for your converter/charger when off-grid. The generator itself does not charge the batteries but provides AC power to the charger mentioned above. To charge efficiently:

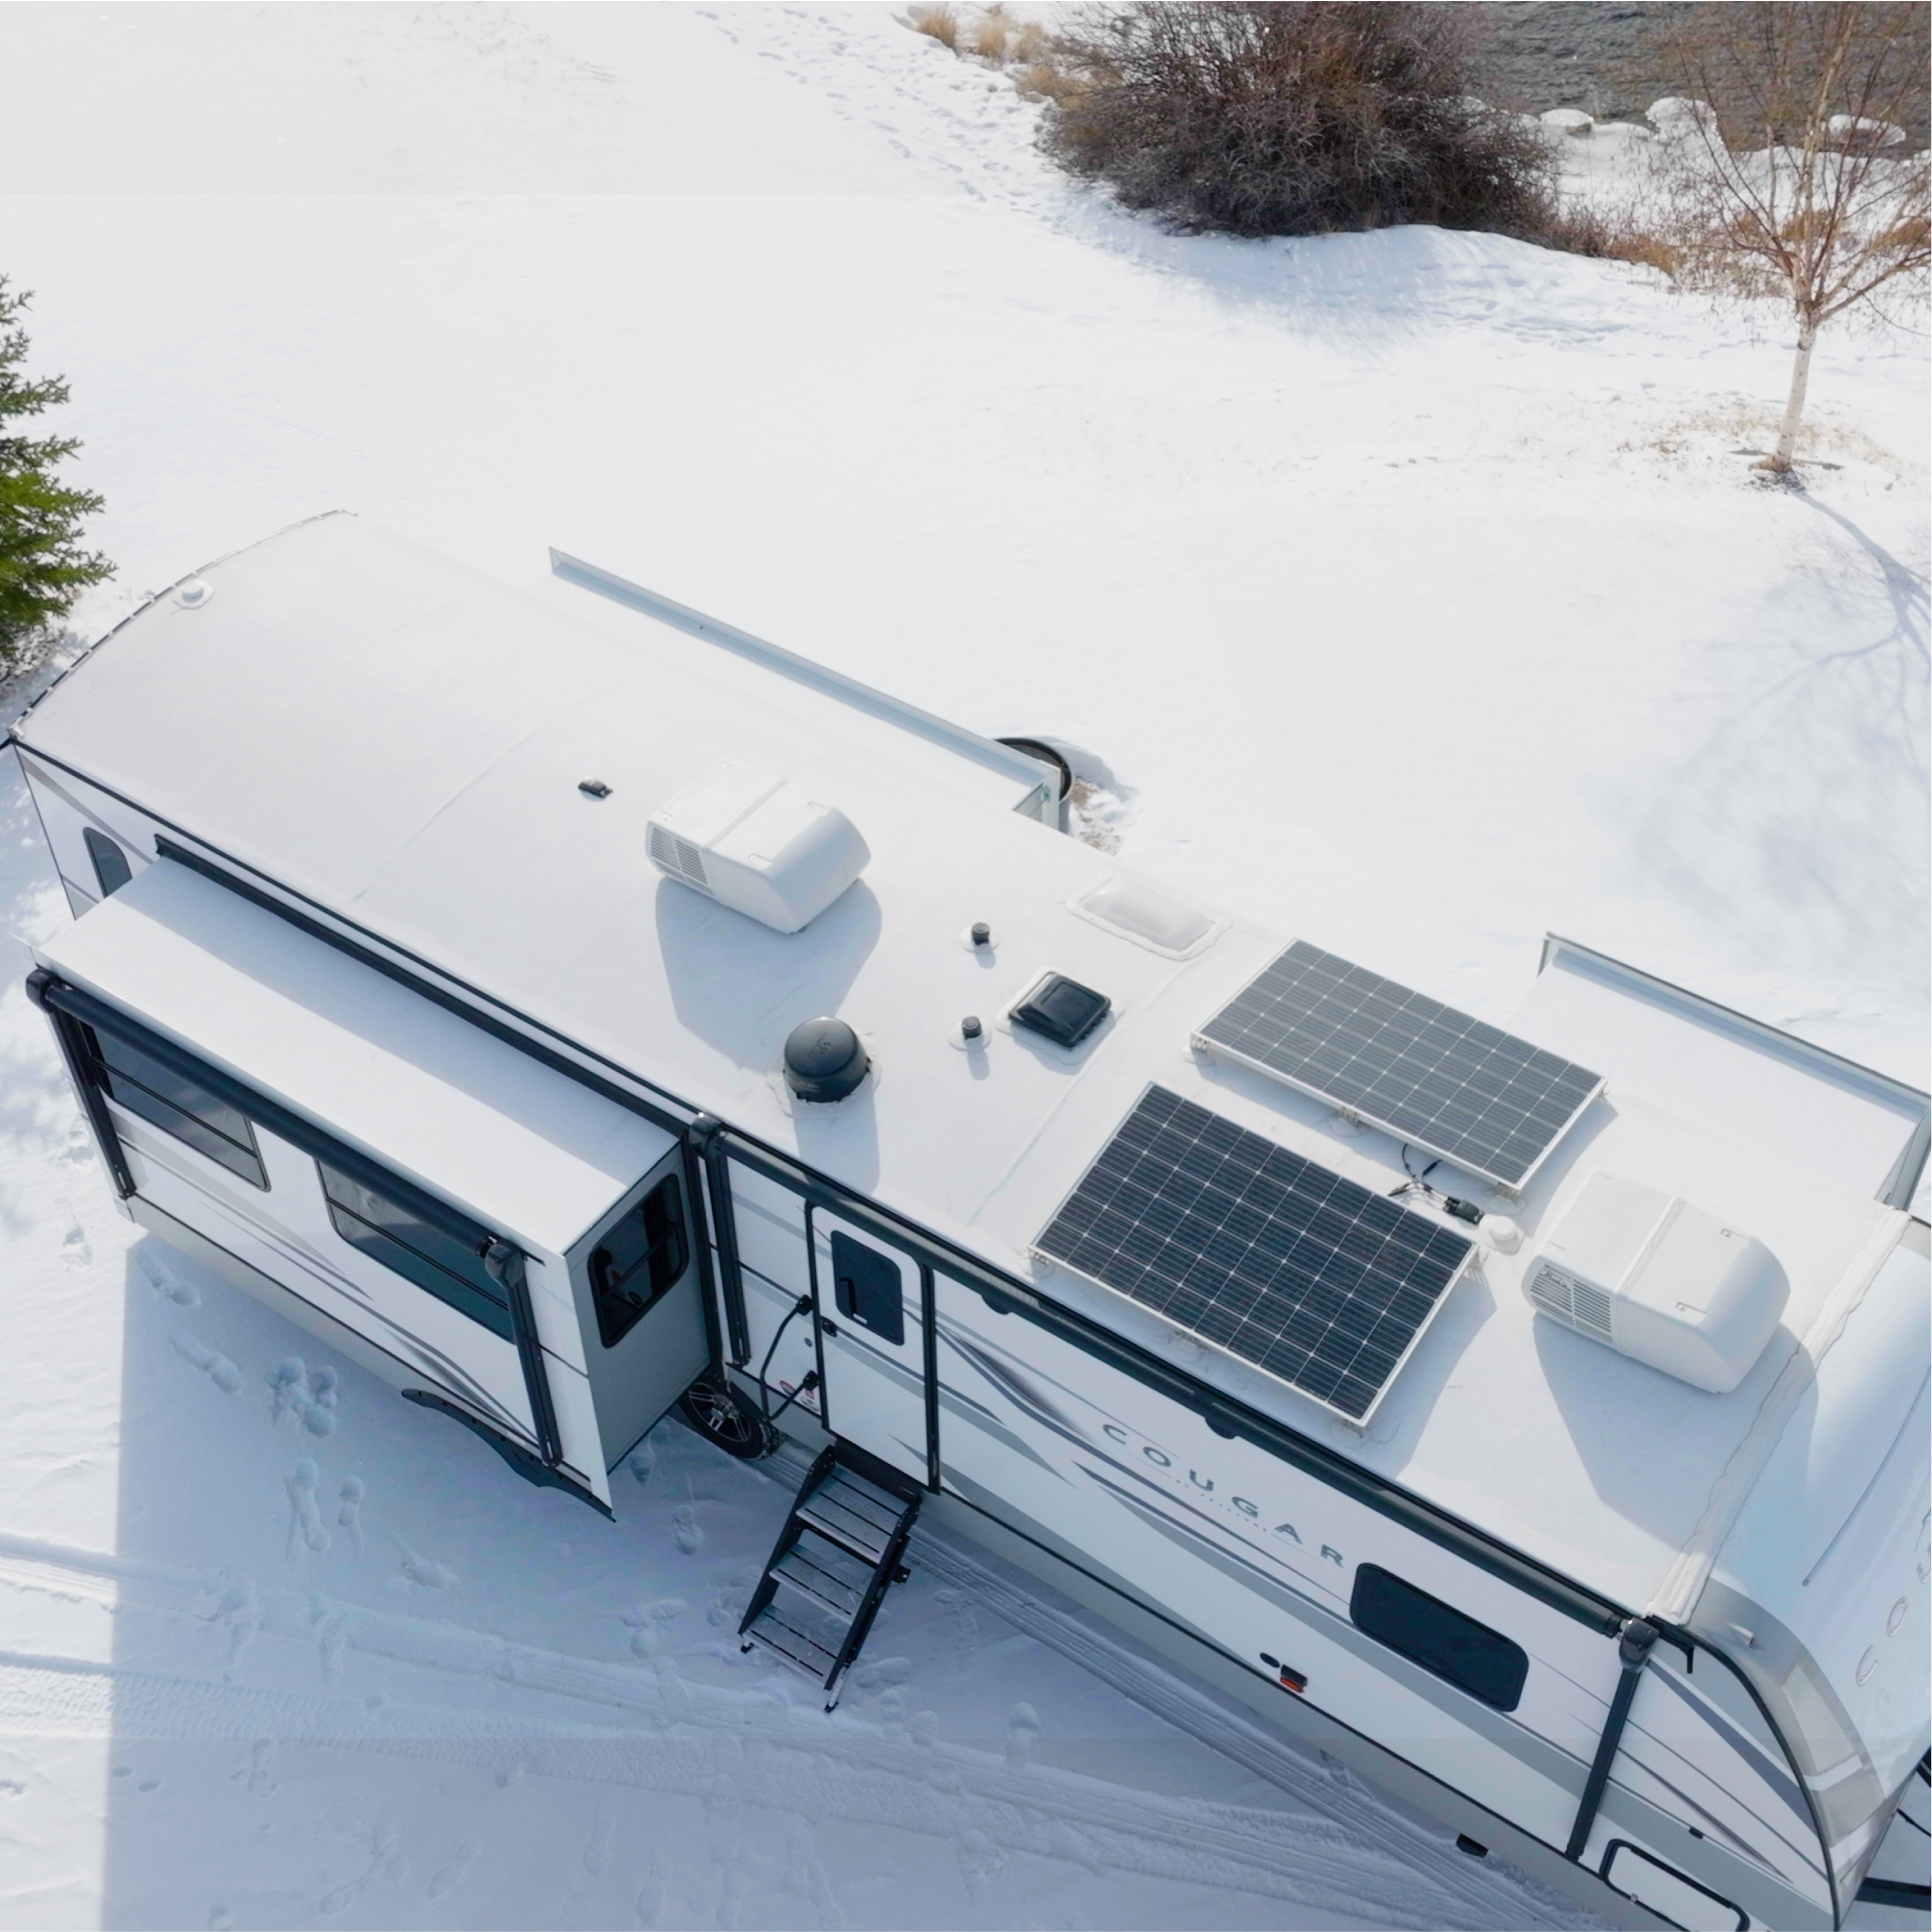
Solar systems use a charge controller to regulate power from your solar panels to the batteries. Just like the chargers from shore power, these charge controllers need to have the correct charging profile for the battery type. Solar charge controllers can be used alongside shore/generator charging and can always be “on”. We also recommend using an MPPT (maximum power point tracking) controller for optimal efficiency.
Recommended Victron SmartSolar MPPT settings for Battle Born Batteries:
These settings are detailed in The Basics of Charging LiFePO₄ Batteries.

When your RV or tow vehicle’s engine is running, the alternator can charge your house batteries. However, alternators are designed for starting batteries, not deep-cycle banks, and can be overworked if connected directly to lithium batteries.
If using a small bank of lead-acid batteries, the vehicle’s alternator system can be connected directly to them; however, if using a large bank, large wire, or lithium, adding a controller in line is important.
To prevent alternator strain or overvoltage:
Portable chargers are excellent for periodic maintenance or storage charging. Models like the Victron IP65 Blue Smart Charger allow direct connection to the battery and feature selectable profiles for different chemistries.
TIP: Avoid “trickle charging” lithium batteries continuously—unlike lead-acid, they do not need to remain on a float charge once full.
Lead-acid charging involves distinct voltage and current stages to safely bring the battery to full capacity:
Charge time depends on the battery’s internal resistance and the charger’s current output. A 50A charger can recharge a 100Ah lead-acid battery in roughly 4–6 hours. Once charged, lead-acid batteries need frequent recharging even if not in use, as they will self-discharge in a few months. This is why trickle chargers are used on vehicles in storage.
Cold Weather Note:
Lead-acid batteries lose efficiency as the temperature drops. At 32°F, capacity decreases to ~80%, and at 0°F, to ~50%. Charge acceptance also slows, so chargers with temperature compensation are recommended when using in cold temperatures. Keep batteries insulated and fully charged to prevent electrolyte freezing.
Battle Born LiFePO₄ batteries use a simplified two-stage charging process—constant current (bulk) followed by constant voltage. Once the battery reaches full voltage, charging current tapers to near zero, and the charger can safely disconnect or enter a low-voltage float.
This basically cuts out half the charge time requirements for lead-acid batteries. Lithium can also be stopped charging at any point without damage, which makes them the preferred choice for solar charge applications where you may not get enough sun for a full charge each day.
Recommended settings for Battle Born LiFePO₄ batteries:
Because LiFePO₄ batteries have low internal resistance, they can accept higher charge currents. For example, a 50A charger can recharge a 100Ah Battle Born battery from empty in roughly two hours. However, regularly exceeding a 0.5C charge rate (50A for a 100Ah battery) can shorten cycle life.
Once charged, lithium batteries can remain disconnected for months with minimal self-discharge. Trickle charging is unnecessary and should be avoided.

Generally speaking, lithium (LiFePO₄) batteries can discharge safely in freezing temperatures, but they should not be charged until the internal temperature is above 32°F (0°C). Charging while frozen can cause lithium plating and long-term cell damage.
In most RV setups, the battery bay stays warm enough from interior heat, daytime solar gain, or light electrical loads to allow normal charging, even in cold conditions. Each Battle Born Battery includes an internal Battery Management System (BMS) that automatically pauses charging when temperatures are too low (ours cut out at 25°F) and resumes once the battery warms back up to a safe temperature.
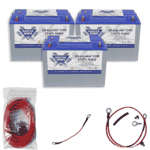
For RVers who frequently expose their batteries to freezing weather, we make self-heated LiFePO₄ batteries that include an integrated, low-draw heating element that maintains safe internal temperatures—ensuring you can recharge confidently in any climate!
🔋 Learn more about our 12V LiFePO₄ Deep Cycle Heated Battery Kits!
Safe charging protects your batteries, wiring, and RV electrical system and you. Follow these core guidelines to ensure reliable, trouble-free operation:
Proper storage practices prevent self-discharge and preserve capacity. Improper storage also risks voiding any warranties you have on your batteries:
Lead-Acid Batteries:
Lithium (LiFePO₄) Batteries:

If your RV batteries aren’t charging as expected, a few systematic checks can usually pinpoint the problem. Here are the most common issues our tech team helps RV owners solve:

If you’re spending more time troubleshooting voltage issues than enjoying your travels, upgrading to lithium can provide faster charging, higher usable capacity, and longer lifespan with minimal maintenance.
Lithium systems eliminate concerns about sulfation, water levels, and temperature compensation—simplifying your electrical system while improving performance.
↗️ Learn how to make the switch in How to Replace and Upgrade Your Camper Battery.
A: Yes. You can safely charge both lead-acid and lithium batteries while connected to your RV’s 12V system; this is how the systems work. Just ensure the charger’s output voltage and profile match the battery chemistry. For lead-acid batteries, a multi-stage charger (bulk, absorption, float) is ideal. For Battle Born LiFePO₄ batteries, use a charger that provides 14.2–14.6V bulk/absorption and 13.6V float or lower. Avoid constant “trickle” charging with lithium batteries.
A: They should—if your converter or inverter/charger is functioning properly. Most modern RVs charge automatically through their onboard converter when plugged into 120V AC power. If your batteries are not charging, check for the converter or inverter breaker in the AC panel and make sure its on.
A: Charge time depends on the battery’s capacity and the charger’s output current.
A: Yes, but it requires the right equipment. Alternators can easily overheat or become damaged if connected directly to lithium batteries because of their low resistance and high charge acceptance. We recommend installing a DC-to-DC charger such as the Victron Orion-TR Smart or Sterling Power BB series. These devices regulate voltage and current while protecting the alternator. For systems with three or more Battle Born Batteries, adding a Battery Isolation Manager (BIM) is also recommended for safe long-distance charging.
A: Lead-acid batteries benefit from trickle charging or float maintenance to prevent sulfation. However, Battle Born LiFePO₄ batteries do not require trickle charging. Once fully charged, they can be disconnected or allowed to rest at 13.6V float. Continuous trickle charging offers no benefit and can shorten cycle life.
A: Cold weather affects all battery chemistries, but the impact differs:
Learn more about these models here:
👉 12V LiFePO₄ Deep Cycle Heated Battery Kits
A: Yes, but efficiency varies based on your setup. Towable RVs charge via the 7-pin connector, which provides limited current—often only 5–10 amps. Motorhomes can take advantage of the engine alternator, but for optimal performance, a DC-to-DC charger or battery isolator is recommended. These devices ensure safe charging voltages and prevent your starting battery from discharging into the house bank when the engine is off.
A: For lead-acid batteries, use a smart maintainer or float charger and store them fully charged in a dry, ventilated location above 20°F.
For Battle Born lithium batteries, store them around 100% charge, disconnected from all loads and chargers. There’s no need for a maintainer—just top them off before your next trip. If the RV is stored in cold environments, use heated batteries or remove and store them indoors.
A: Yes, overcharging can damage any battery chemistry. Lead-acid batteries will overheat, lose electrolyte, or gas excessively if voltages exceed ~15V. Lithium batteries are protected internally by a BMS that disconnects charging when voltage or temperature limits are reached. Always use a properly programmed charger and confirm the voltage limits match your battery specifications.
A: No. Unlike lead-acid batteries, lithium batteries do not lose significant charge when disconnected. Keeping them continuously on a charger can actually stress the cells unnecessarily. Once charged, disconnect or allow your system’s charger to rest at 13.6V float. For long-term storage, disconnect completely and check the voltage every few months.
We know that building or upgrading an electrical system can be overwhelming, so we’re here to help. Our Reno, Nevada-based sales and customer service team is standing by at (855) 292-2831 to take your questions!
Also, join us on Facebook, Instagram, and YouTube to learn more about how lithium battery systems can power your lifestyle, see how others have built their systems, and gain the confidence to get out there and stay out there.